
QPIX software CONTROL2
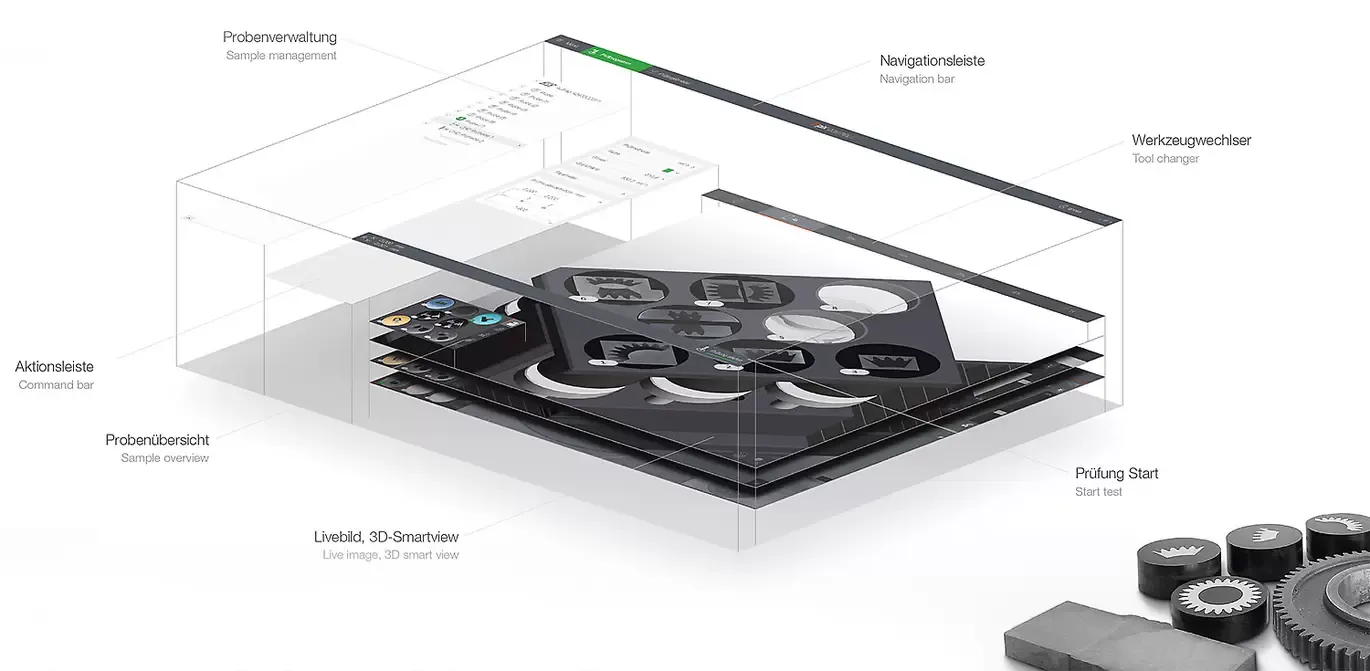
INTUITIVE, STRUCTURED AND PROFESSIONAL

3 STEPS TO THE RESULT
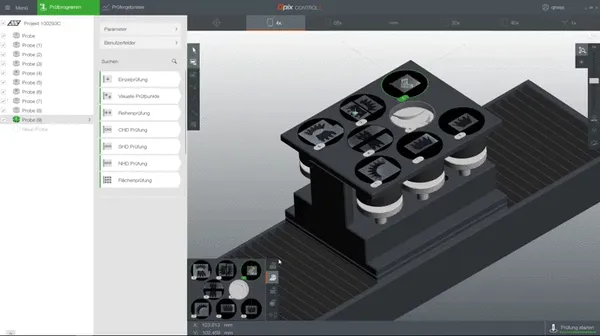
1. LOAD SAMPLES
The machine moves automatically to sample holder height. Image of sample is taken automatically.
MULTIPLE SAMPLES, TEMPLATE, MANAGEMENT, OPTIMUM STOP,…
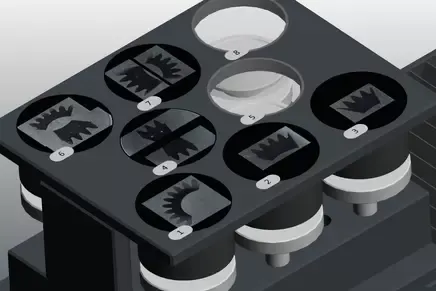
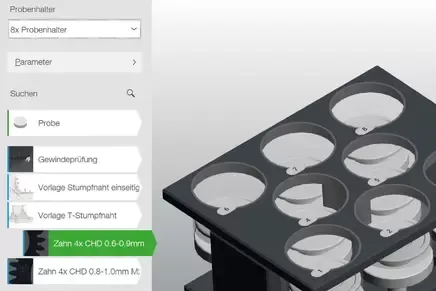
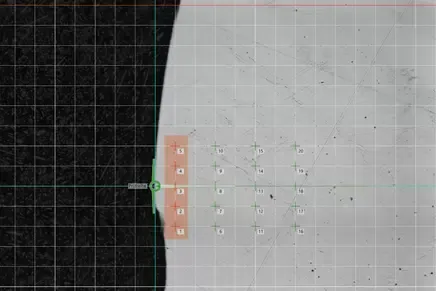
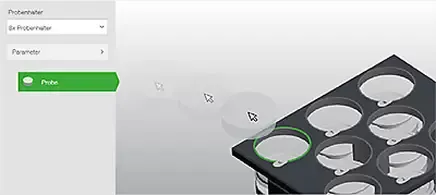
MULTIPLE AND DIVERSE SAMPLES Simple management of several samples at the same time even with a variety of sample types in a single mould. |
CLEARLY STRUCTURED TEMPLATE MANAGEMENT Graphic presentation of stored templates with compre-hensively detailed descriptions and freely selectable guidelines. |
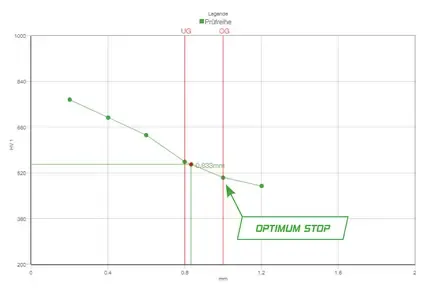
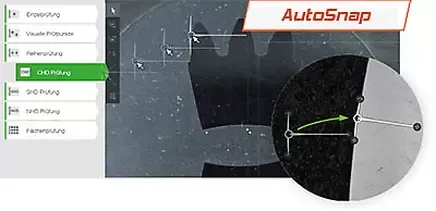
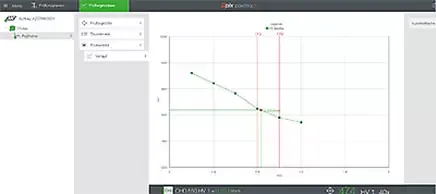
CHD/SHD/NHD WITH OPTIMUM STOP Time-saving test mode ‘Complete all indentations - then evaluate’ and ‘Optimum Stop’ to complete test series as soon as the lower hardness limit has been undercut. |
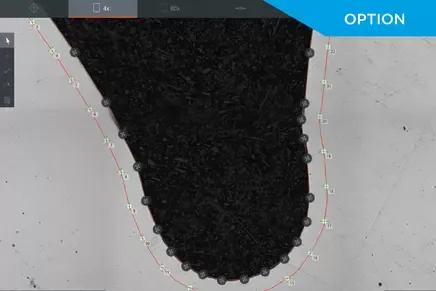
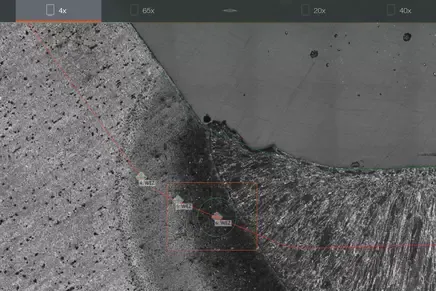
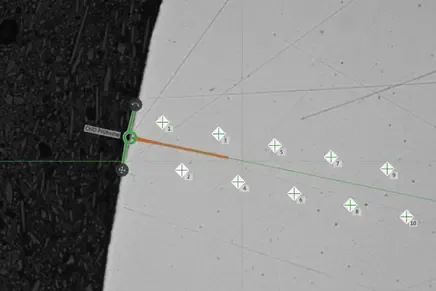
WELDING SAMPLE TOOLS Points along - and parallel to - a polygon line, test point marking and guide circles for exact test point positioning in the heat affected zone of the welded sample. |
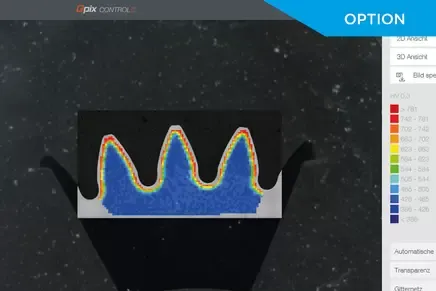
SINTER FUNCTIONS Grouping of test points to gain averages and deletion of anomalies in hardness profiles. |
PREDICTIVE CALCULATION OF TEST POINTS Displays the expected indentation size to simplify positi-oning and provides graphic warning when test points are closer than the normed minimum distance. |
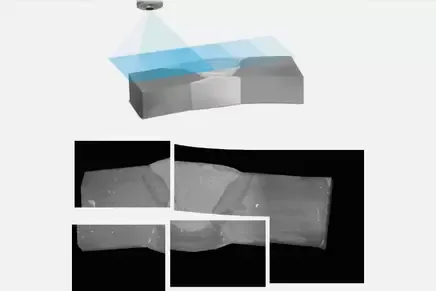
PANORAMA IMAGE FUNCTION For sample image camera and measurement camera. Crystal clear sample images, from very small to extremely large test items. Automatic imaging can be programmed for before and after test sequence completion. |
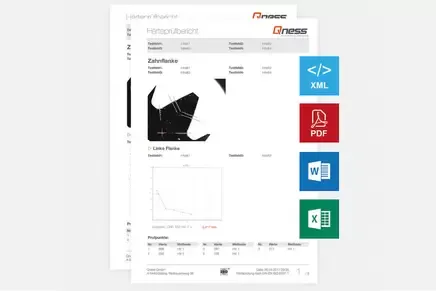
PROFESSIONAL DATA MANAGEMENT Configurable protocol and data presentation. Wide range of structuration options for stored test item data. Adaptable content for export files and protocol content simplifies daily operation with Qpix Control2 software. |
INTELLIGENT OPTIONS
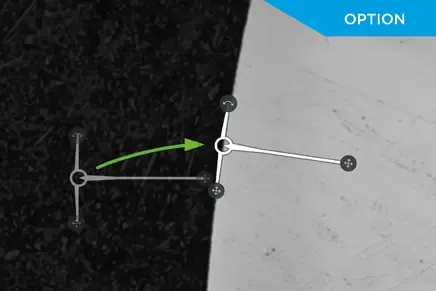
EDGE RECOGNITION
Working with program templates and the edge recognition software module makes fine-positioning of test rows irrelevant. The machine moves to the start points automatically and corrects their positions before the test sequence is started.
