

Macro hardness tester QNESS 250 / QNESS 750 / QNESS 3000 A+ EVO
PRODUCT ADVANTAGES
- Highly precise test head control by asynchronous motor
- Automatic XYZ test progression for different sample heights
- Base cabinet and safety fully integrated into machine design
- Maximum clamping safety due to fix or swiveling downholder
- Excellent image quality
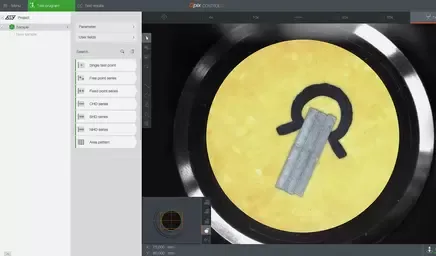
- Qpix Control2 Software with intuitive 3D control elements
- Variant A+ only: Sample image camera with automatic image acquisition
HIGHLY ACCURATE RESULTS IN ULTRA-SHORT TIME
| XLED BRINELL EVALUATION LENSES
XLED illumination modules revolutionize the analysis of Brinell indentations. Due to beading on commercially available lenses, soft Brinell indentations in particular can be subject to imprecise gauging results. In contrast, XLED lenses guarantee precise and repeatable measurements, regardless of material type and hardness, due to direct and wide-extension illumination. | EXCELLENT IMAGE QUALITY
The optics system of the new hardness tester series EVO has been completely redeveloped. It was built on site in the cleanroom at the QATM plant and benefits from the company’s comprehensive expertise. All hardness testers of the new series share one universal microscope system covering all the necessary visual ranges between 0.1 mm and 8 mm in maximum clarity and contrast. The QATM system guarantees uniform illumination across the entire image, regardless of the degree of magnification, and without dark edges. | ETHERNET INDUSTRIAL COLOR CAMERA
High-quality CMOS 5-megapixel cameras with Ethernet data transfer define the current industrial standard. Unlike other camera systems, a far higher transmission stability is possible here. Additionally, the PC and hardness tester can be set up remotely at great distances from each other. This is ideal in manufacturing environments in which the control infrastructure is installed in external switch cabinets. |
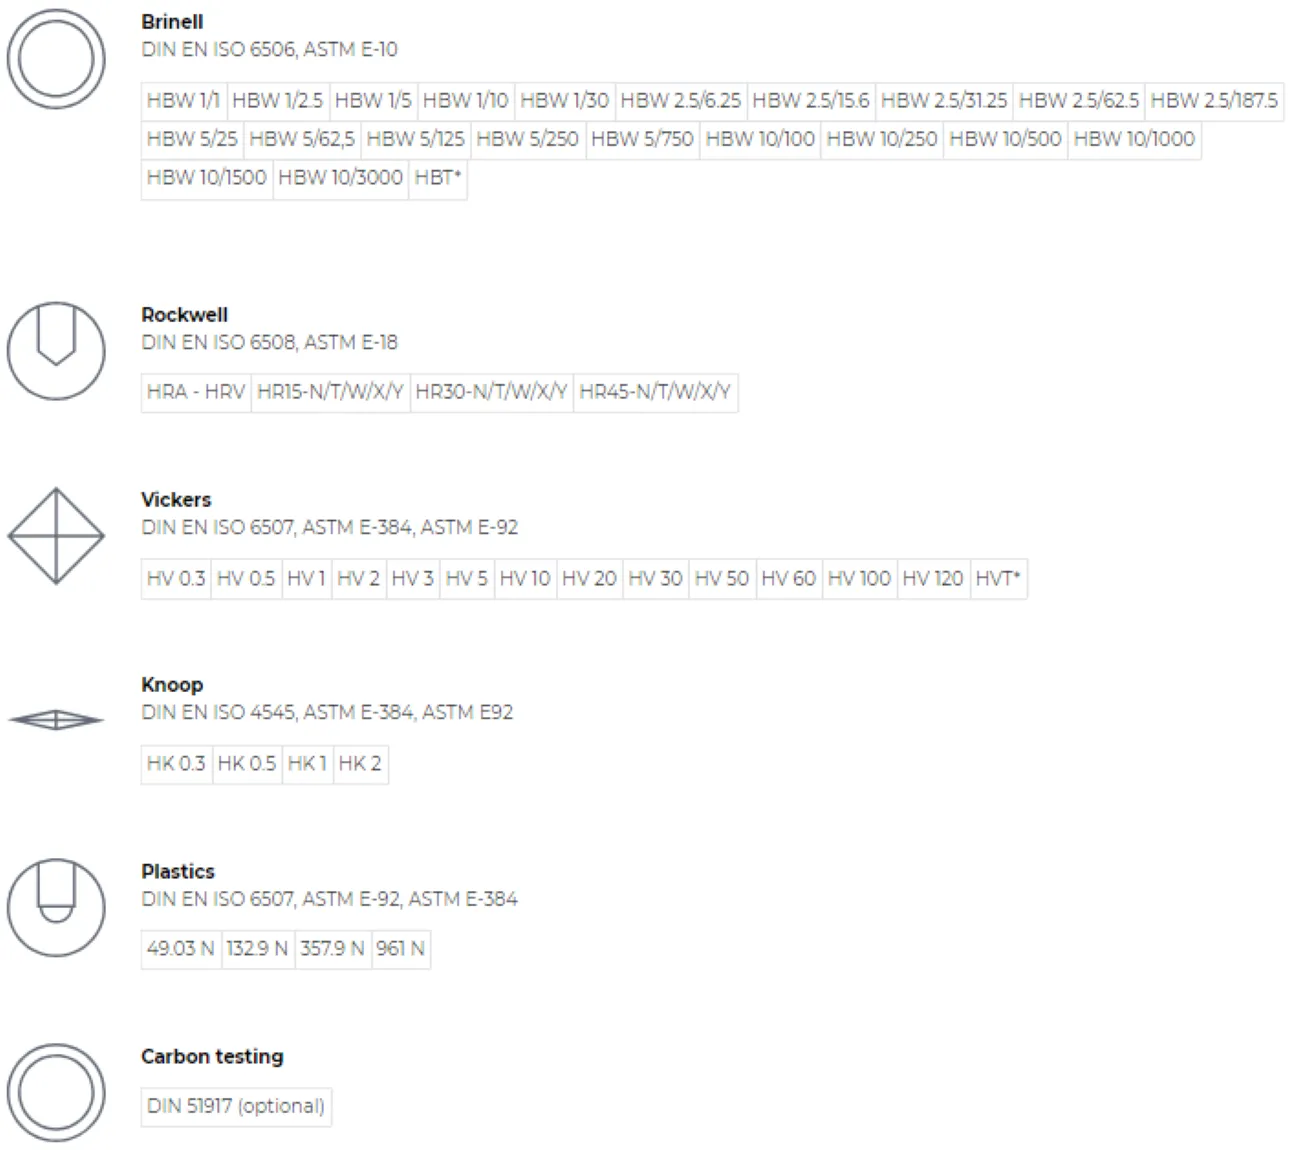
TEST METHODS & FORCE RANGE
Integrated conversions:
DIN EN ISO 18265, DIN EN ISO 50150, ASTM E-140
SIMPLE AND RELIABLE
SAMPLE IMAGE CAMERA Ultimate ease of use with 5 megapixel colour camera for recording the entire sample for a perfect overview and documentation in the protocol. As standard, hardness tester versions CA+ and A+ record the entire table surface as sample image. |
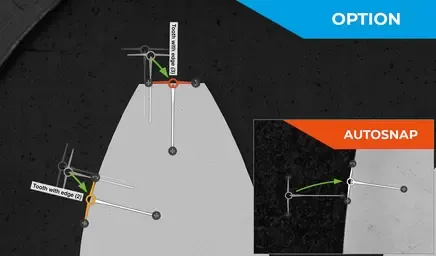
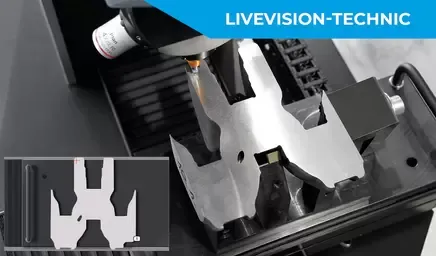
EDGE RECOGNITION Edge recognition involves automatic adaption of test row starting points to the sample edge when using project and sample templates. The module significantly increases the degree of automation and is an ideal add-on to the serially provided Auto- Snap function. |
| 8-POSITION TOOL CHANGER
The easy way to serve universal applications: The sophisticated tool-changer concept with a rotational axis angle of 15° provides space for 8 tools in a uniquely compact unit. Downholder elements with a closed shape on three sides guarantee secure workpiece clamping around the test point – even for small test pieces. |
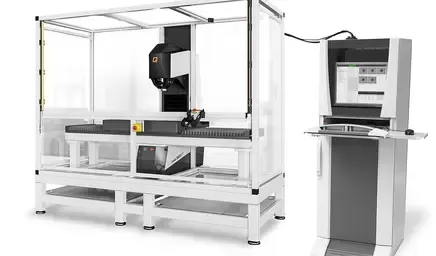
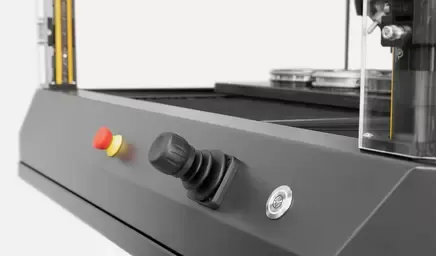
FULLY AUTOMATED 3-AXIS CONTROL Fully automatic and robust XY slide with high-precision positioning drive. Dynamic joystick to control all 3 axes (XYZ). Usable support surface 450 x 300 mm or, on request, larger travels and test tables available. |
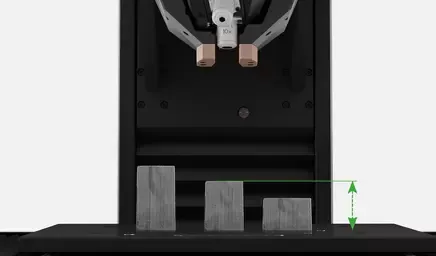
DIFFERENT TEST HEIGHTS For each XY test point position the Z height can be individually selected. During automatic testing, the machine changes between specimens of different height or different test levels safely and fully automatically. Thanks to the innovative CAS technology, the unit is protected against collisions. When testing clamped samples, the patented QATM “workpiece recognition” reduces the approach speed of the test head automatically via sensor detection (preserves machine and sample). |
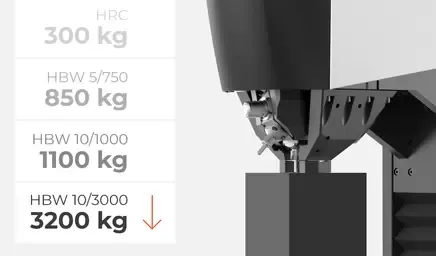
MAXIMUM CLAMPING SAFETY High-performance induction motor in the A/A+ version facilitates a workpiece clamping force of up to 3.200 kg. Clamping power is adapted to the test method and is automatically set to be greater than the test force. Operators do not need to set levels and can rely on the hardness tester to guarantee safe, optimized adaption. |
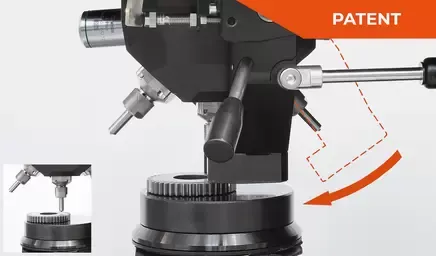
ELECTRIC SWIVELING DOWNHOLDER Qness 250 A/A+ EVO-Version only: For hardness tests according to Rockwell or Brinell, parts securely fixed with the downholder are indispensable. For general processes, such as edge recognition or during the programming of test samples, however, the downholder is not required. Hence, the downholder clamp can be swivelled in or out by motor in a matter of seconds between different processes in the innovative EVO system. This improves operating convenience and further reduces cycle times. |
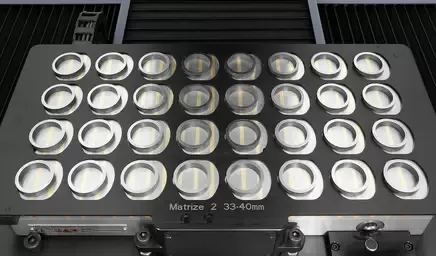
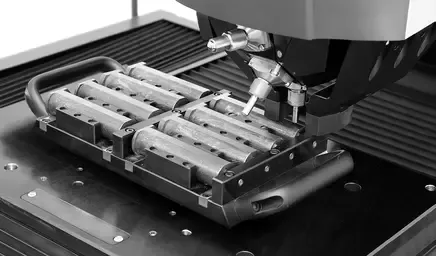
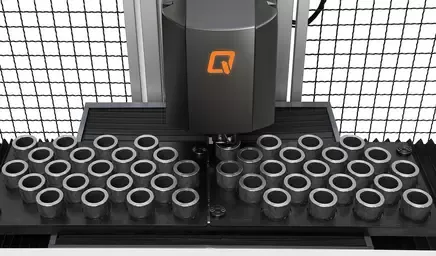
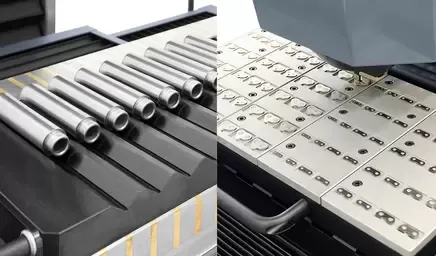
IDENTICAL SAMPLE TESTS An entire range of relevant data, such as test patterns, test methods and user fields can be activated via pre-defined sample magazines. QATM can provide the most suitable clamping setup, matrices and cassette systems for every requirement. |
REVOLUTIONARY 3D OPERATING CONCEPT
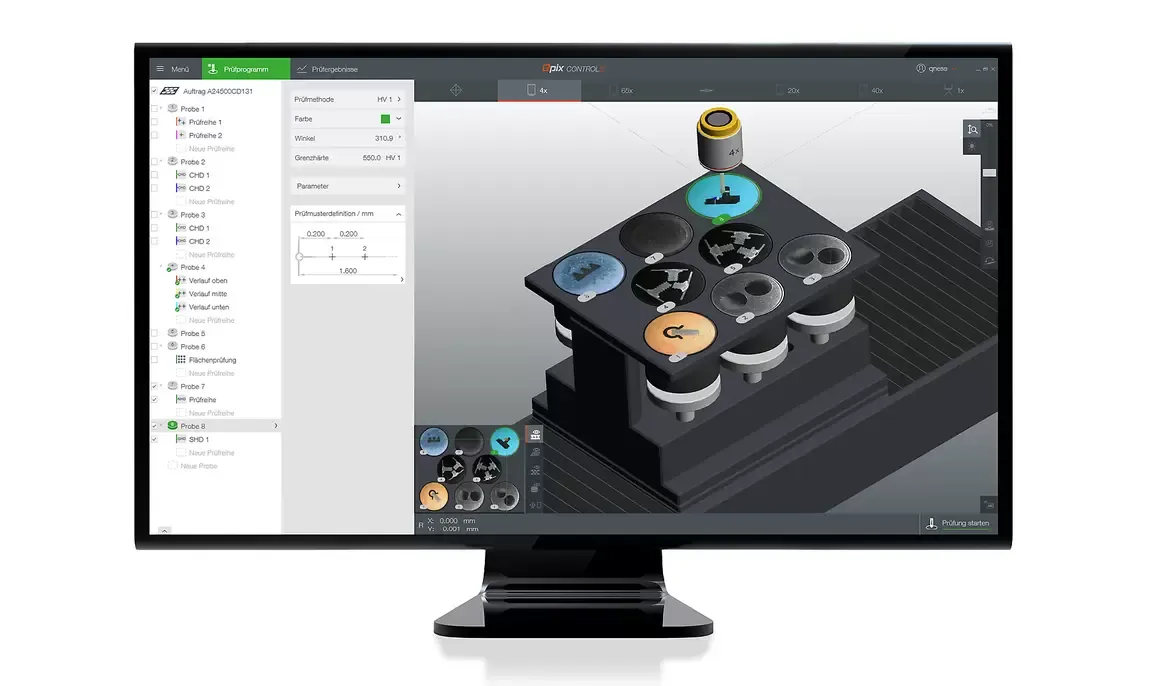
CUSTOMER-SPECIFIC SAMPLE HOLDER Identical samples can be set up in the software in scale as a 3D model. |
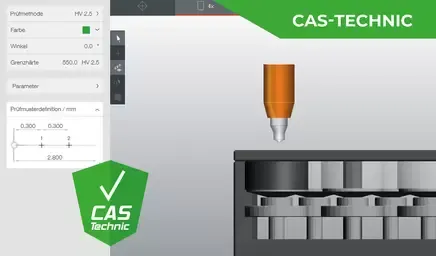
CAS TECHNOLOGY Innovative Collision Avoiding System (CAS) technology protects the mechanical parts in the device using predictive 3D motion calculations to visualize the effects of collisions and operation errors. |
PERFECT SOLUTIONS FOR ANY APPLICATION
TEST PIECE CLAMPING AND SAMPLE HOLDER RECOGNITION
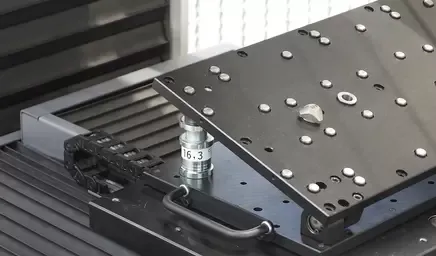
Switchable industrial magnets enable power- and time-saving loading and unloading of the test system and, at the same time, guarantee a secure hold during the test. In addition, all QATM fixtures can be equipped with a sample holder recognition: via integrated sensors, the fixture is automatically recognized by the testing device and only the appropriate test programs are loaded.
