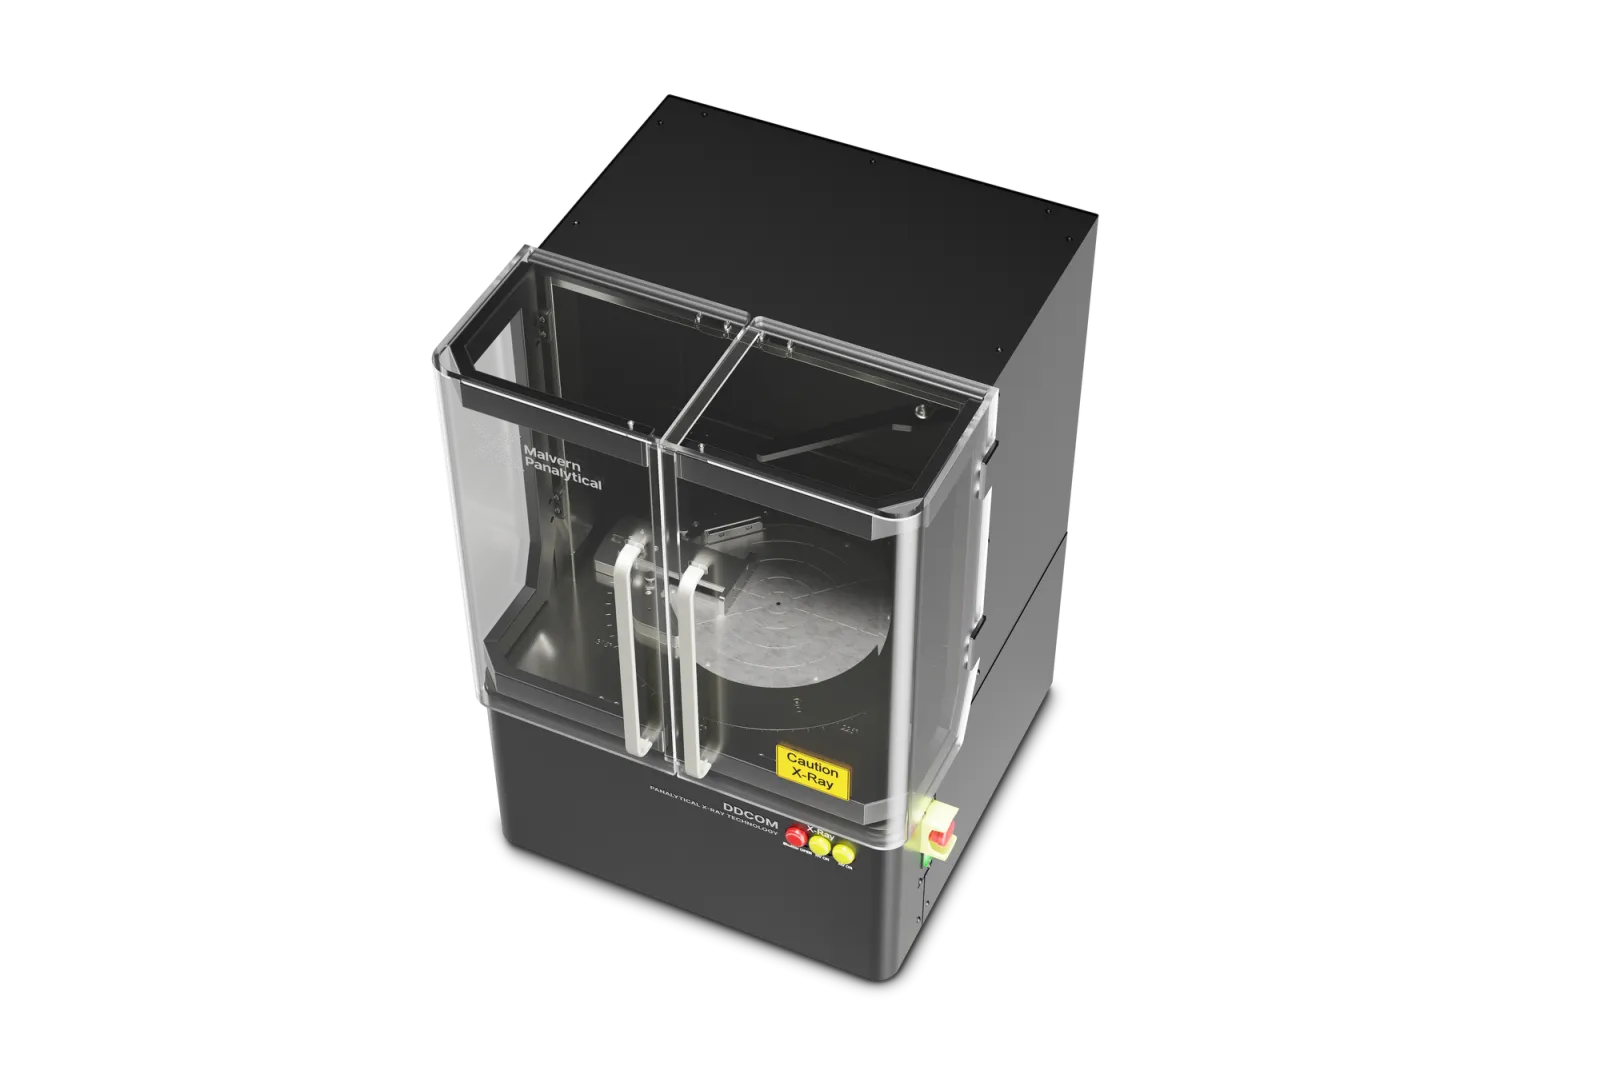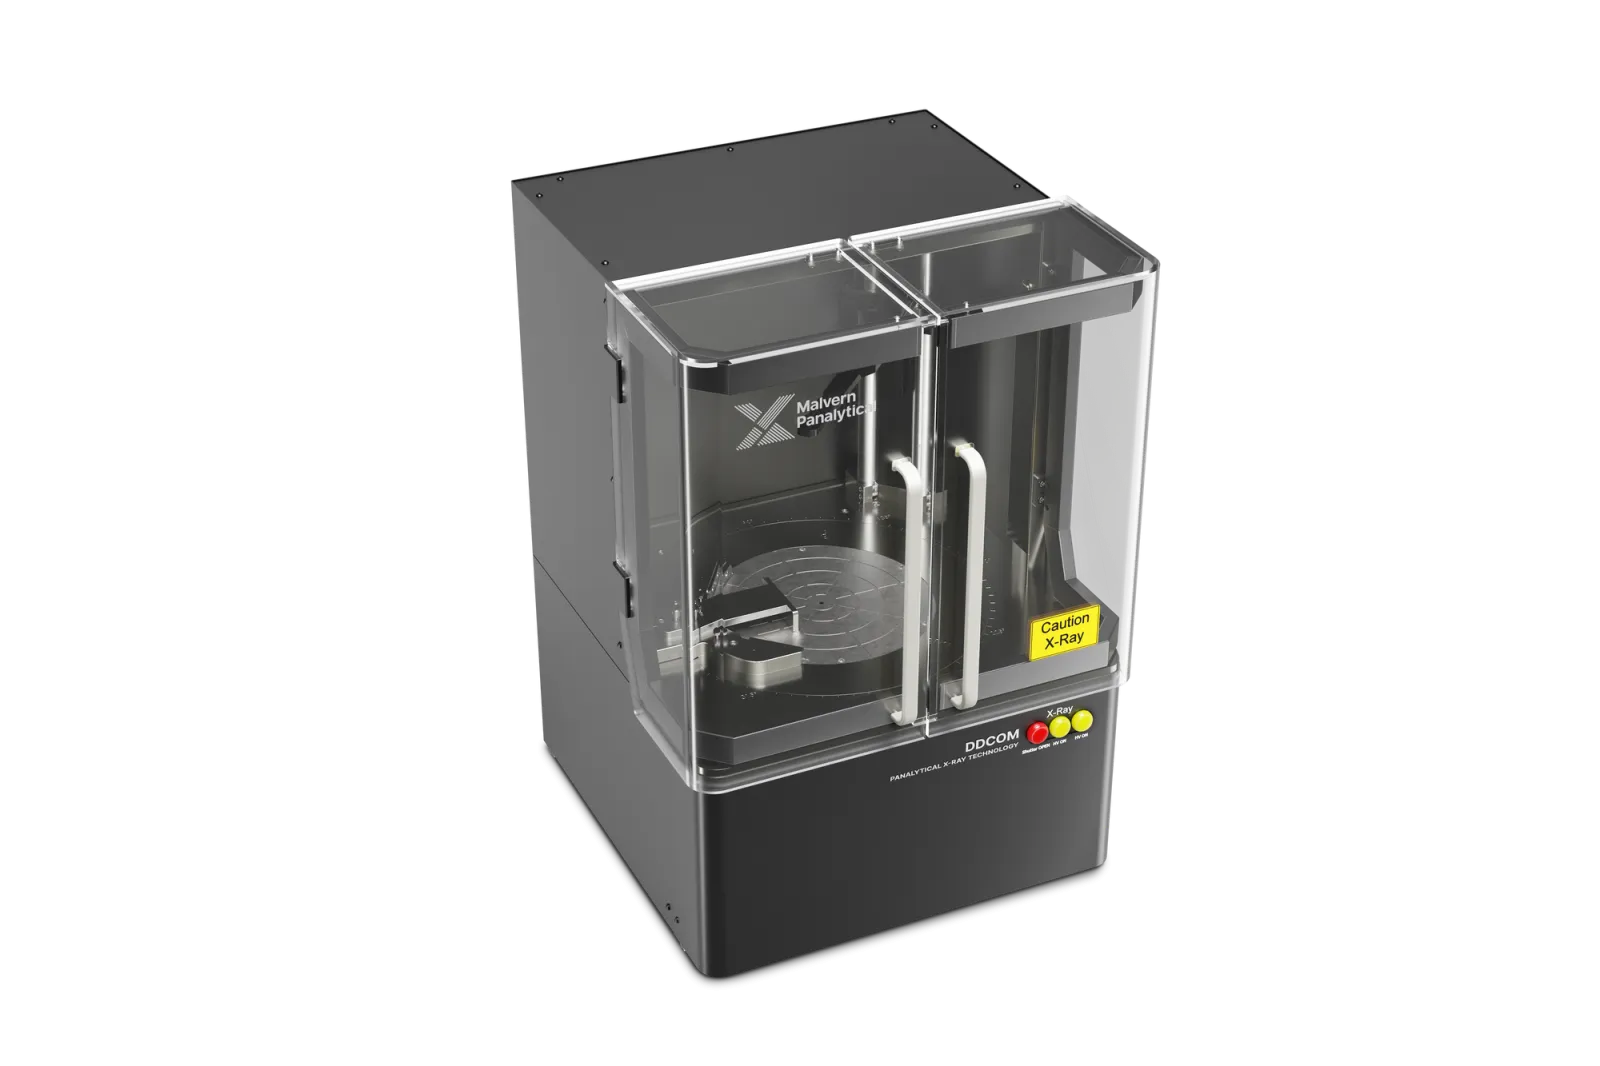

DDCOM Diffractometer for Crystal Orientation Determination
Ultra-fast, bottom surface measuring crystal orientation in a compact package
Determine the full crystal orientation precisely in seconds using our efficient and accurate method. With low energy consumption and operating costs – DDCOM is ideal for both research and industry applications.


Overview
Ultra-fast, precise (up to (1/100)o crystal orientation at your fingertips. DDCOM acquires reliable results more than 100 times faster than the traditional methods with additional time savings due to the bottom-up measurement geometry. This highly versatility instrument utilizes an air-cooled X-ray tube and portable design to ensure lower running costs and maximum convenience.
Features and Benefits
Fast and accurate
This method requires only one scan rotation to gather all the necessary data for crystal orientation determination. The measurement concerning the rotation axis increases the throughput while delivering precise results in just a few seconds.
Precise, efficient control
Maintain control of cutting, grinding, and lapping processes with high precision up to 1/100o. DDCOM delivers complete lattice orientation of single crystals. Enabled by the pre-programmed crystal parameters, it also determines arbitrary unknown orientation of various structures. The Azimuthal setting feature together with the marking of crystal orientation aids in refining the workflow for greater efficiency.
Compact, user-friendly format
The compact design of DDCOM allows the system to fit into any setting. The software is both powerful and intuitive, making it convenient and easy to operate for a range of users.
Versatile and cost-effective
DDCOM is well-equipped for both research and production environments in which a range of sample types need to be analyzed. Operating costs are low for the DDCOM, thanks to its low energy consumption and air-cooled X-ray tube – no water cooling is required.
The instrument can measure a range of different materials with varying structures offering flexibility to any laboratory. Some examples of measurable materials include:
- Cubic, arbitrary unknown orientation: Si, Ge, GaAs, GaP, InP
- Cubic, special orientation: Ag, Au, Ni, Pt, GaSb, InAs, InSb, AlSb, ZnTe, CdTe, SiC3C, PbS, PbTe, SnTe, MgO, LiF, MgAl2O4, SrTiO3, LaTiO3
- Tetragonal: MgF2, TiO2, SrLaAlO4
- Hexagonal and trigonal: SiC 2H, 4H, 6H, 15R, GaN, ZnO, LiNbO3, SiO2 (quartz), Al2O3 (sapphire), GaPO4, La3Ga5SiO14
- Orthorhombic: Mg2SiO4, NdGaO3
Key Applications
Crystal orientation control for cutting, grinding, and lapping
Due to its small footprint, automation capabilities and rapid measurement speed, DDCOM XRD gives you a convenient, user-friendly way to measure crystal orientation enabling the precise and efficient control of cutting, grinding, and lapping processes.
Setting and marking of crystal orientation
DDCOM is equipped for azimuthal setting and marking of crystal orientation. Wafer marking relies on excellent precision and rapid monitoring, and DDCOM delivers the speed and precision your process needs. Lightweight and portable, it is easily integrated into your existing setup or as part of a new process.
Quality control
Measurement speed and throughput time is crucial for production quality control – but for routine measurements, it is also important to keep running costs low. DDCOM is not only efficient in throughput and productivity due to the top down-measurement geometry, but also in energy use – keeping your costs lower and your processes running optimally, without compromising quality.
Materials research
Able to measure a versatile range of crystal types within a small laboratory footprint, DDCOM is ideal for standard research workflows. Running costs are kept low by minimized energy consumption and an air-cooled X-ray tube with no need for water cooling. DDCOM is also accessible and easy to operate for a range of experience levels, making it a practical solution for research laboratories.
Specification
| X-ray source | 30 W air-cooled X-ray tube, Cu anode |
| Detectors | Two scintillation counters |
| Sample holder | Precise turntable, setting accuracy 0.01°, tools for defined sample positioning and marking |
| Physical specification | |
| Dimensions | 600 mm × 600 mm × 850 mm |
| Weight | 80 kg |
| Power supply | 100-230 V, 500 W, single phase |
| Room temperature | ≤ 30° C |
| Configuration options | |
| Device for mapping of wafers (maximum diameter 225 mm) | |
| Device for automatic loading from cassettes | |
| Examples of measurable materials | |
| Cubic / arbitrary unknown orientation | Si, Ge, GaAs, GaP, InP |
| Cubic / special orientation | Ag, Au, Ni, Pt, GaSb, InAs, InSb, AlSb, ZnTe, CdTe, SiC3C, PbS, PbTe, SnTe, MgO, LiF, MgAl2O4, SrTiO3, LaTiO3 |
| Tetragonal | MgF2, TiO2, SrLaAlO4 |
| Hexagonal / Trigonal | SiC 2H, 4H, 6H, 15R, GaN, ZnO, LiNbO3, SiO2 (quartz), Al2O3 (sapphire), GaPO4, La3Ga5SiO14 |
| Orthorhombic | Mg2SiO4, NdGaO3 |
| Further materials according to the customers’ demands |
