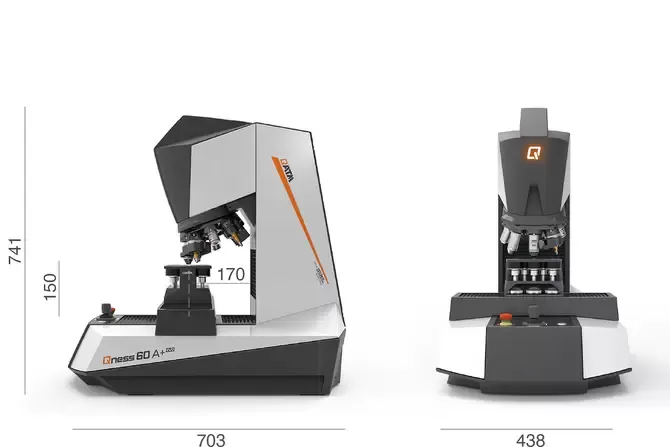


Microhardness tester Qness 10 / 60 A+ according to Vickers / Knoop / Brinell / Rockwell
The Vickers / Knoop / Brinell / Rockwell hardness tester series Qness 10 / 60 takes micro hardness testing to a whole new level: The high-end laboratory devices of the latest generation combine the best of both worlds – hardness testing and microscopy without compromise and with maximum operating convenience. The revolutionary optical system with color camera provides reproducible and reliable results every time.
The classic „Qness 10 / 60 A+” model of this Vickers / Knoop / Brinell / Rockwell hardness tester promises perfect automation and comes with a precision positioning control for all three axis systems. Flexible XYZ progressions for thousands of analysis points allow for exceptionally high throughput without operator intervention.
QATM micro hardness testers seamlessly integrate with the Verder Scientific IoT platform, featuring remote real-time monitoring, live notifications, effortless backups and automatic software updates.Product advantages
- Wide test force range (0.25 g – 62.5 kg)
- Ready to Test package, includes: ASTM+DAkkS certified Vickers diamond and 5x / 20x / 50x lenses
- Dynamic test turret with 8-position tool changer
- Qpix Control2 Software with innovative 3D operation
- Modular activation of INSPECT microscopy features
- Fully automated, unmanned test and analysis cycles
- XYZ axis control with direct optical path measuring system (table position accuracy of +/- 2 µm)
- Variant A+ only: Sample image camera with automatic image acquisition (52 x 39 mm)
Test methods & force range

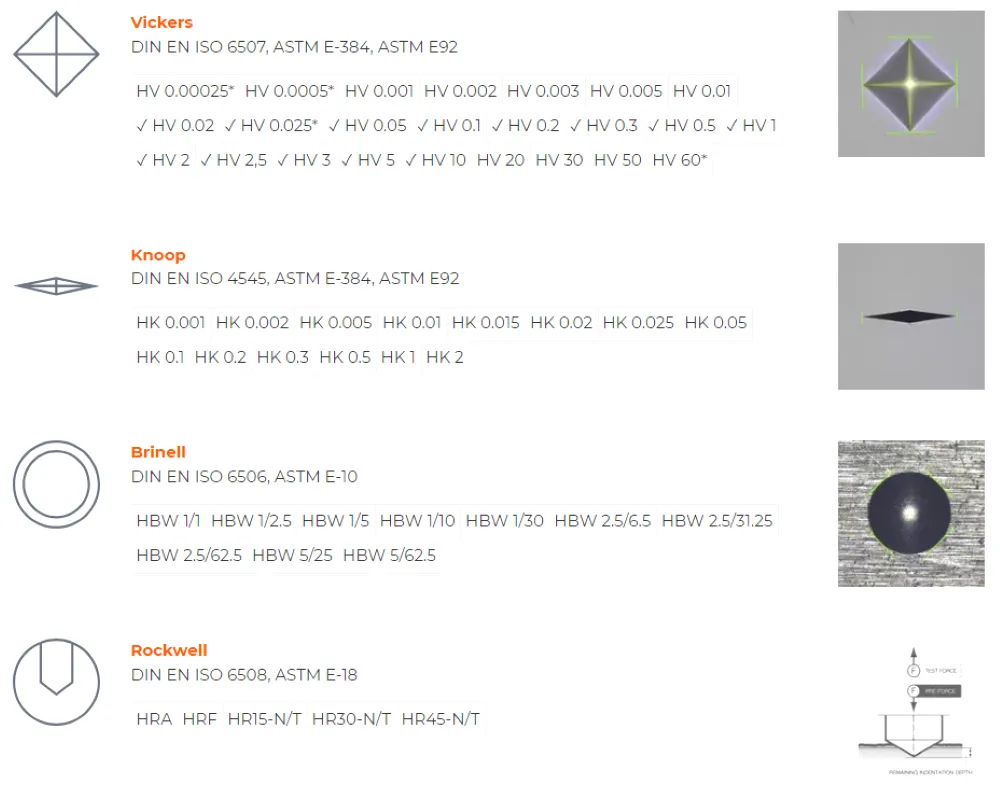
 QATM hardness testers accurately analyze according to all standard test methods and cover a wide spectrum.
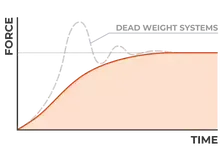
The electronically controlled, fully automated test cycles ensure fast, precise hardness testing, as well as fast method changes and automatic detection of the focal plane. With the Ready to Test package all Vickers test methods are possible with the standard scope of delivery.
Integrated conversions
DIN EN ISO 18265, DIN EN ISO 50150, ASTM E-140
Qness 60 M/A+/ all Vickers test methods possible with standard scope of delivery
✓ Qness 10 M/A+ with standard scope of delivery HV0.02 to HV10 possible.
* not according to standards
Microscopy & analysis with Qpix Inspect
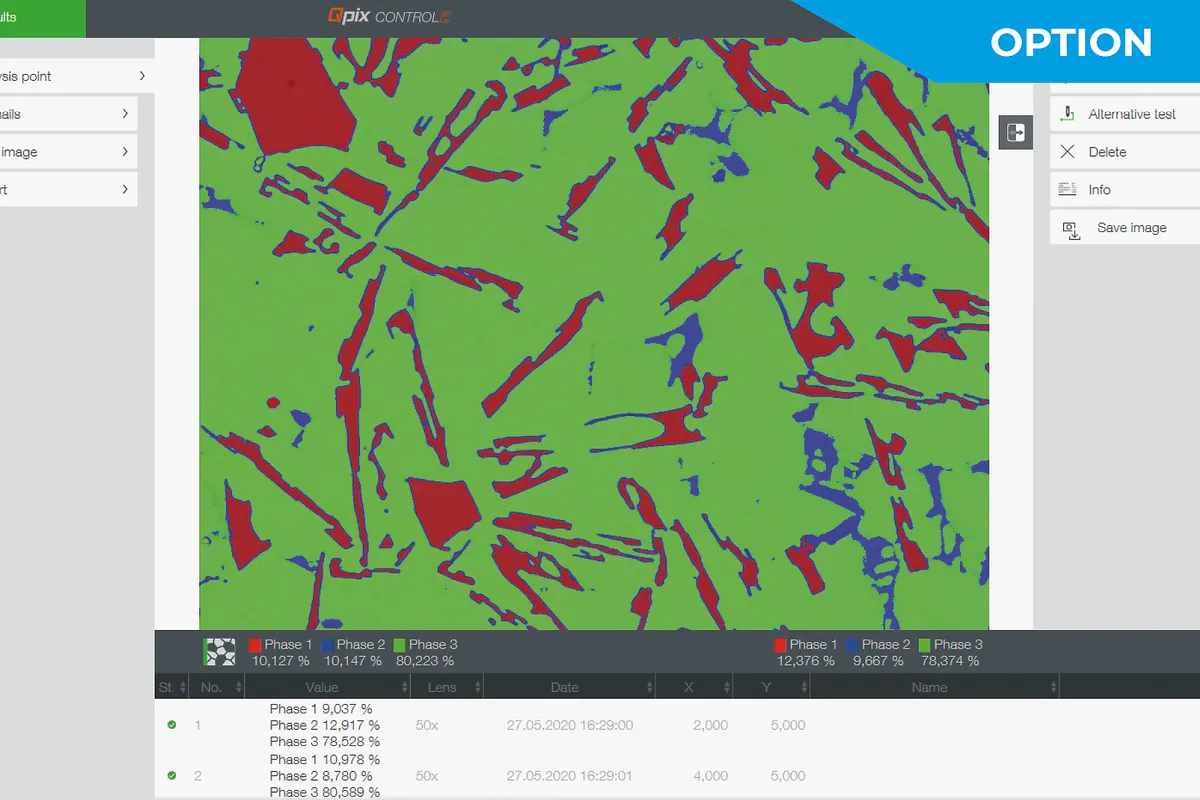
 Phase analysis
- Automatic image object dimensioning
- Provides analysis results as percentage proportions of a surface or as nominal surface values as tables or diagrams
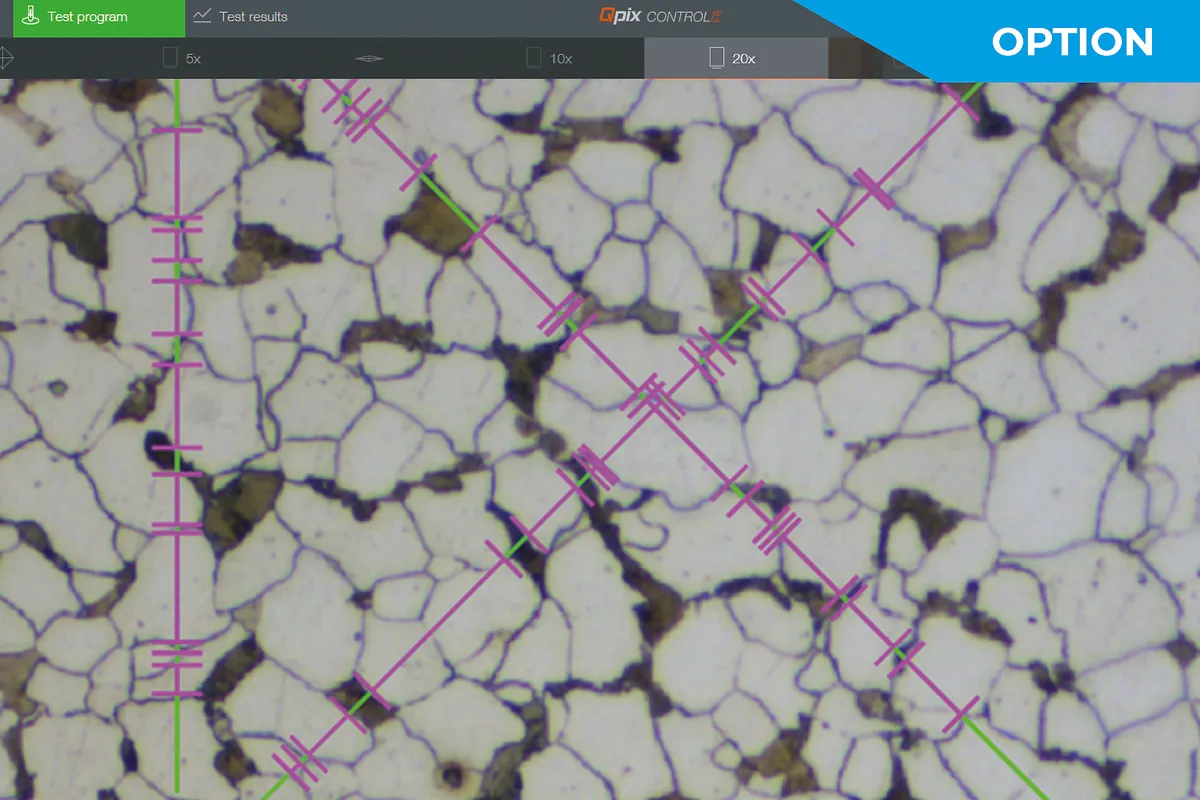
Particle size determination
DIN 9042, ASTM E-562
- Particle size determined via linear or circular section method
- Results of the analysis provided as tables or diagrams
- Abrams Circles, Heyn Lines, Snyder-Graff Line
Layer thickness measurement
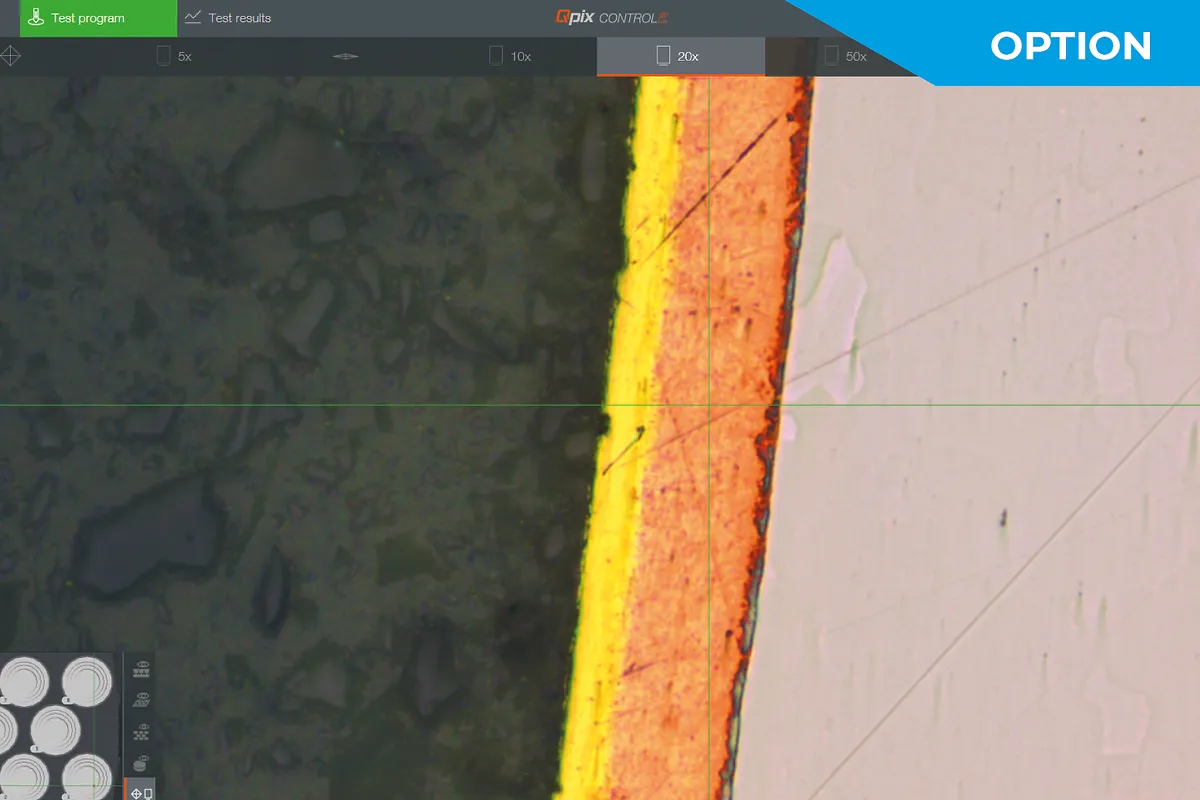
DIN EN ISO 1463
- Determination of layer thickness
- Semi-automated gauging of horizontal, vertical and radial layers.
Weld seam measurement
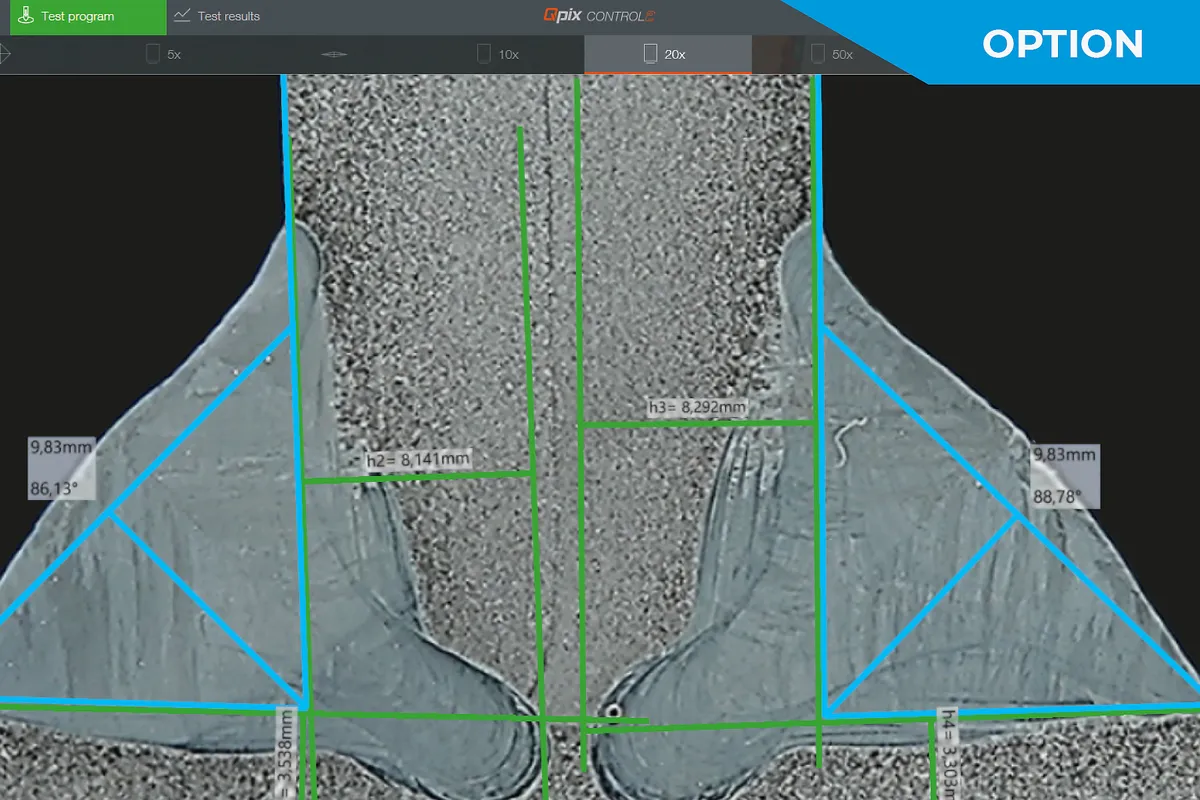
DIN EN ISO 5817
- Standardised measurement and evaluation of weld seams
- Prefabricated templates with all relevant measuring tools such as throat thickness, weld reinforcement, penetration depth, etc.
- Automatic good/bad evaluation and report generation
Revolutionary optic system
The QATM-developed, in-house manufactured lens system sets new standards. As well as providing crystal clear image quality for hardness testing, Koehler illumination uses white LED light and motor-operated aperture shuttering to produce ideal contrast, even for high magnification images.
Experienced metallurgists agree the image quality provided by the Qness 10 / 60 A+ is comparable in all aspects with that of established sophisticated microscopes. The up-to-date concept and new lenses in the optic system enable the device to completely meet even the strictest physical ‘test system definition’ requirements in compliance with DIN EN ISO6507-1/2:2018.
The dest of two worlds
MAXIMUM VERSATILITY
Unsurpassed in single-piece testing and limited series tests on items of all sizes: Simple operability and optional additions for microscopy make QATM Qness 10/60 M a unique, high-quality, all-round package.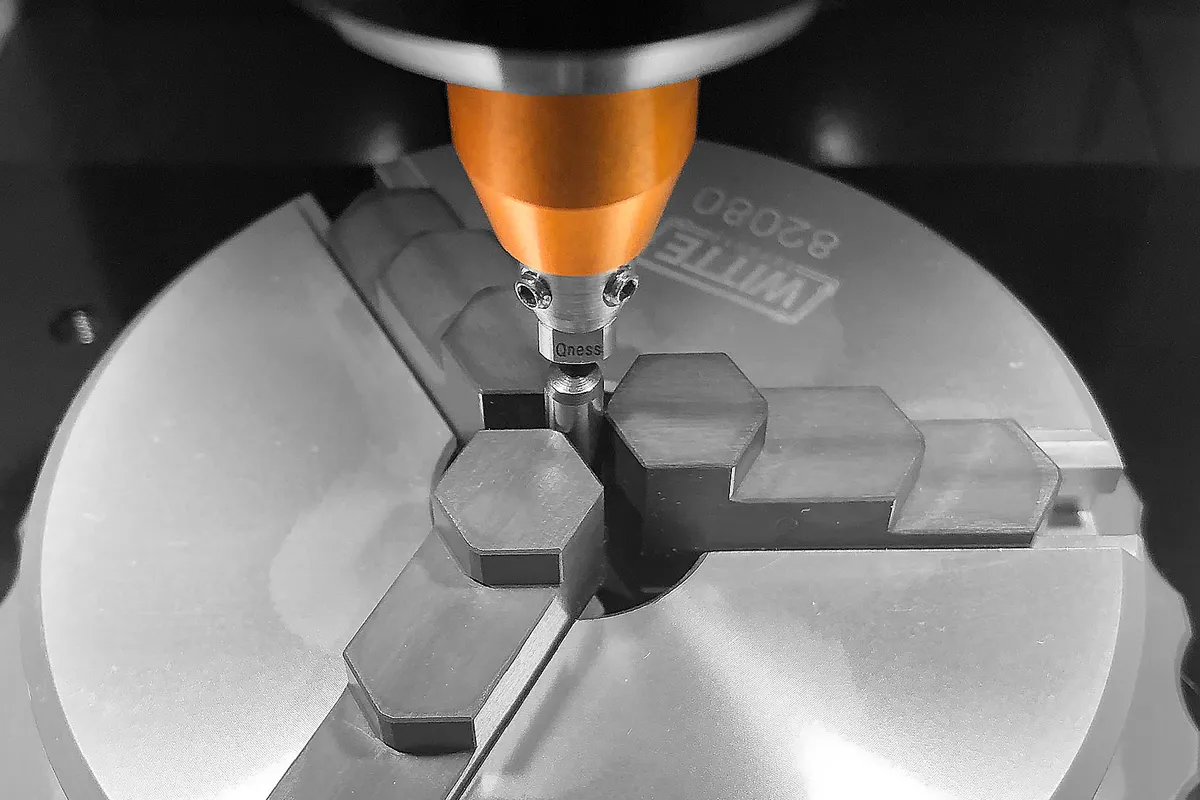
DIGITAL CROSS SLIDE WITH DATA FEEDBACK
Enables serial predefinition of test programs with fixed numbers of test points. If required, also with a manual slide, digital micrometer spindle and positioning data feedback – as used for manual CHD progressions.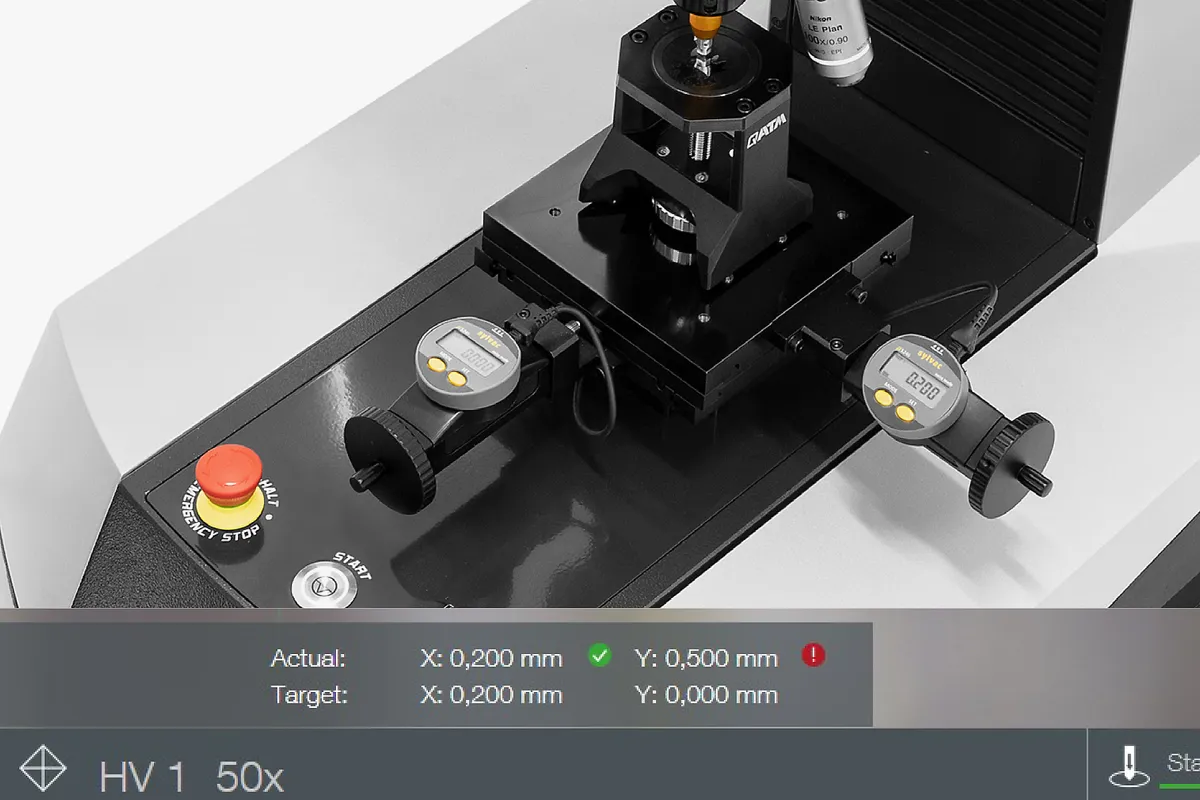
NEW ROCKWELL TEST METHOD
In addition to the Vickers, Knoop and Brinell optical methods, Rockwell measurements can now also be carried out with the new micro hardness testers. A special Rockwell test module has been developed for this purpose.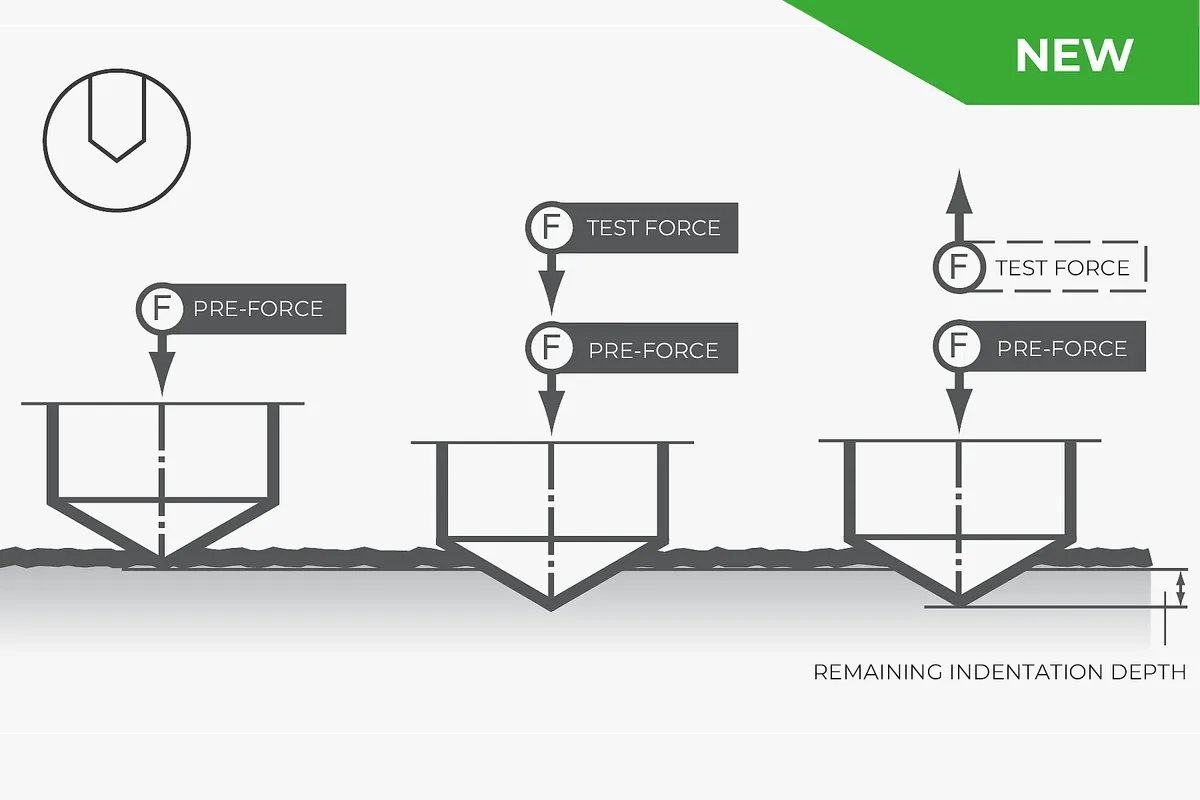
VERTICAL CONCEPT WITH 2 Z-AXES
There are decisive benefits in distributing vertical movement across 2 axes. Via the first Z-axis there is dynamic motion control, allowing the indenter to be positioned towards the test surface quickly and conveniently at up to 30mm/s. The additional second Z-axis in the QATM system offers a high-resolution positioning system for greater precision in force application and focusing.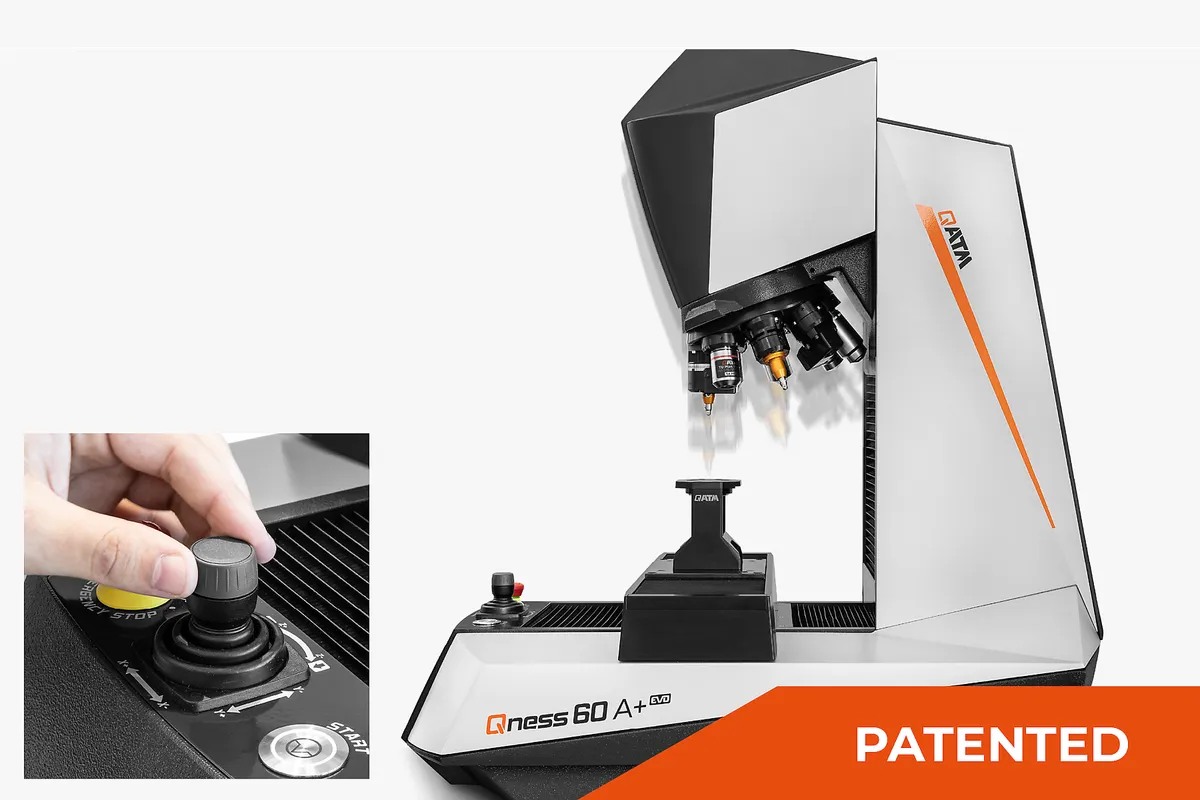
Pioneering technology - Unique implementation
SAMPLE IMAGE CAMERA
It’s no coincidence that most QATM customers choose the ‘A+’ version with a built-in sample image camera. In a few seconds the image of the sample is shot with the additional camera (field of view 52 x 39 mm). The image provides excellent navigational support within the software, particularly in combination with DOUBLE-VIEW TECHNOLOGY, and aids enhanced documentation in the automatically compiled test report.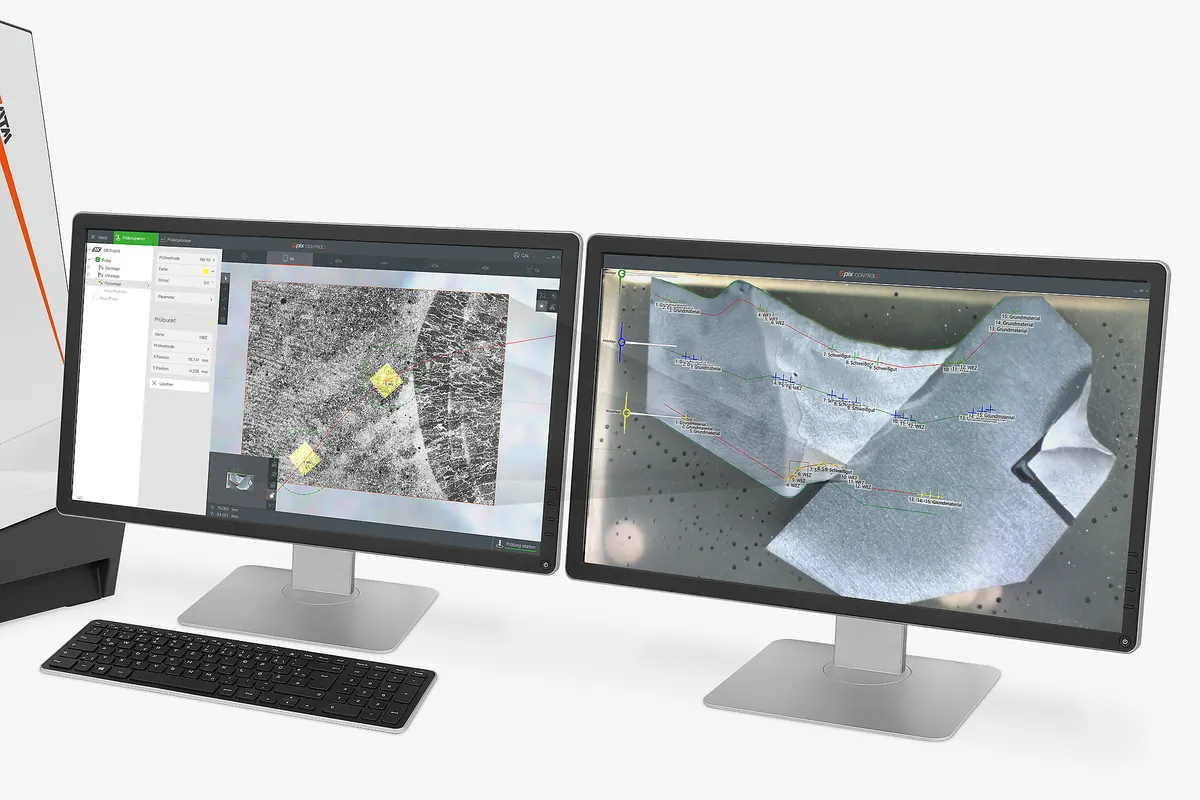
HIGH-RESOLUTION SAMPLE IMAGE (HRI)
If high-quality images of larger areas are required (e.g. for weld seam measurements), the area can be scanned using the HRI function. The Qpix Control 2 software automatically combines the individual images into one large overall image.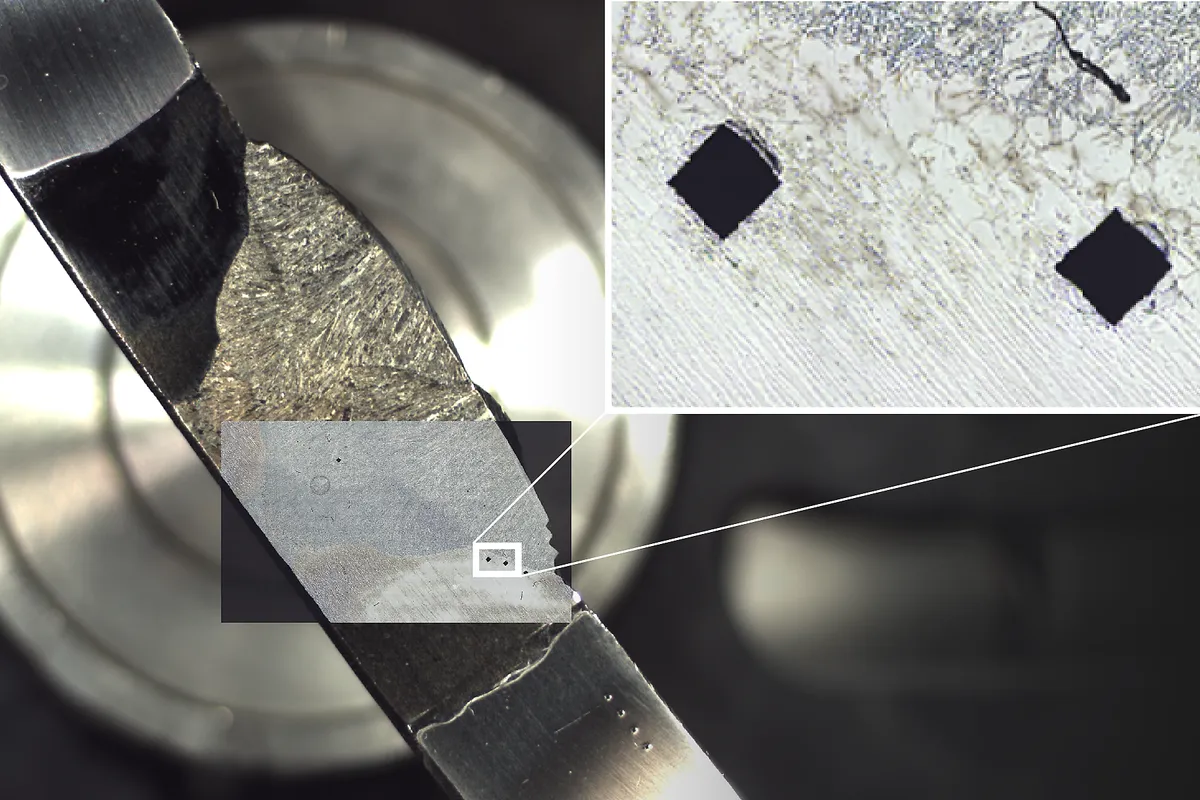
EXACT POSITIONING AND A LARGE TEST SPACE
All 3 axes are equipped with the direct, optical path measuring system as standard. The axes and turret can be positioned to an accuracy of 1.5 μm, so even thin layers, or special testing or analytical coordinates, can be repeatedly and accurately approached.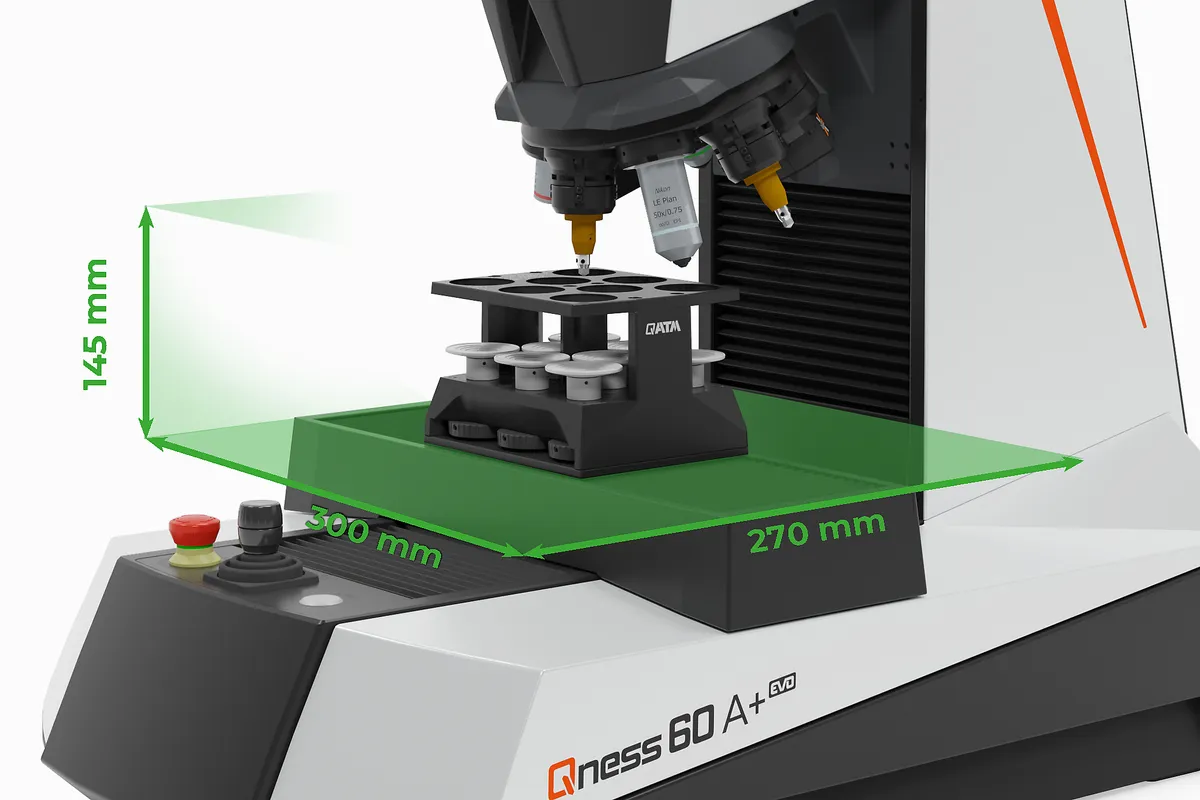
DIFFERENT TEST HEIGHTS
The unique construction of the highly-dynamic tool changer turret allows the positioning of test pieces at various heights within the test area. Innovative CAS technology protects the unit from collisions.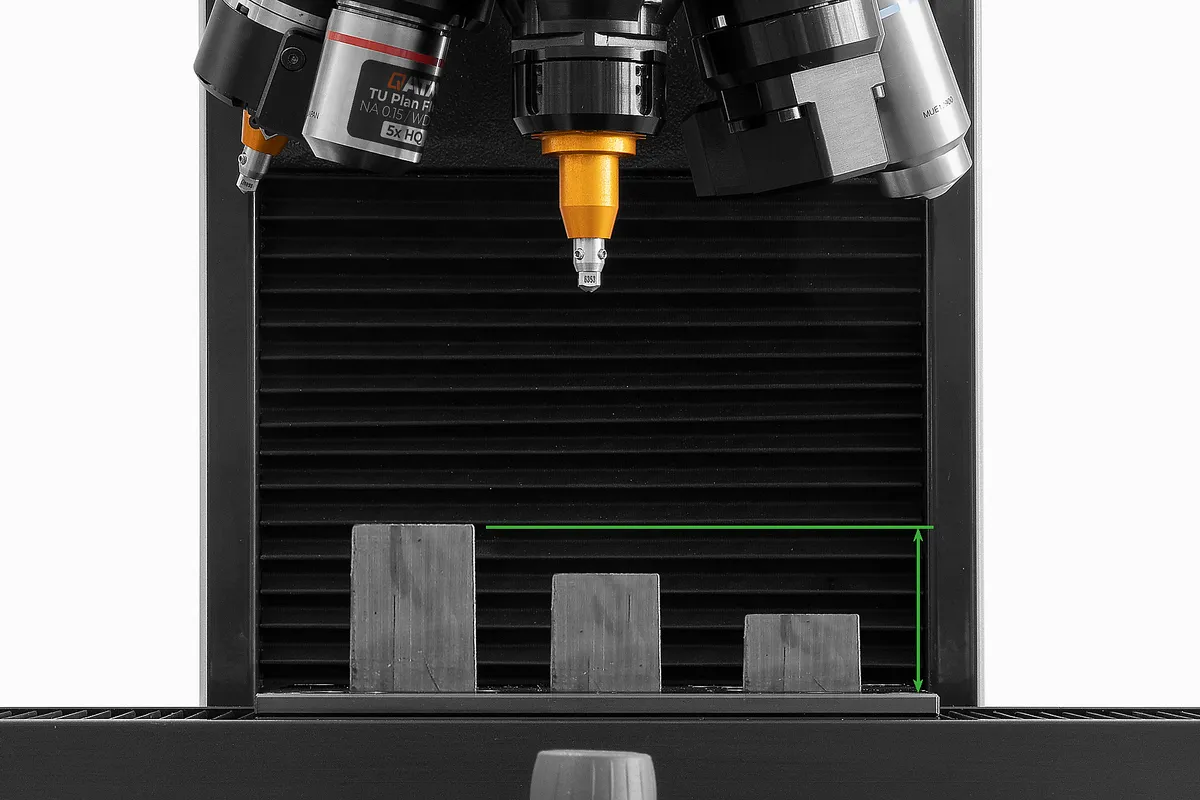
Perfection in full automation
QATM sample holders are designed to ensure maximum throughput. ‘A+’ device test tables include enough space for an 8-fold sample holder as standard; up to two holders can be used in parallel with the optional 300 mm slide.
Optimized sample clamping
EMBEDDED SAMPLES
The secure clamping of samples thanks to a redesigned sample holder with a built-in clamping force limiter, simplifies sample centering and positioning. A sample plate with a ball-joint even clamps samples that cannot be held flat to prevent them tilting or sliding during testing. Available with 1, 4 or 8 sample-holding positions and adapter rings for a large range of metric and imperial sample diameters.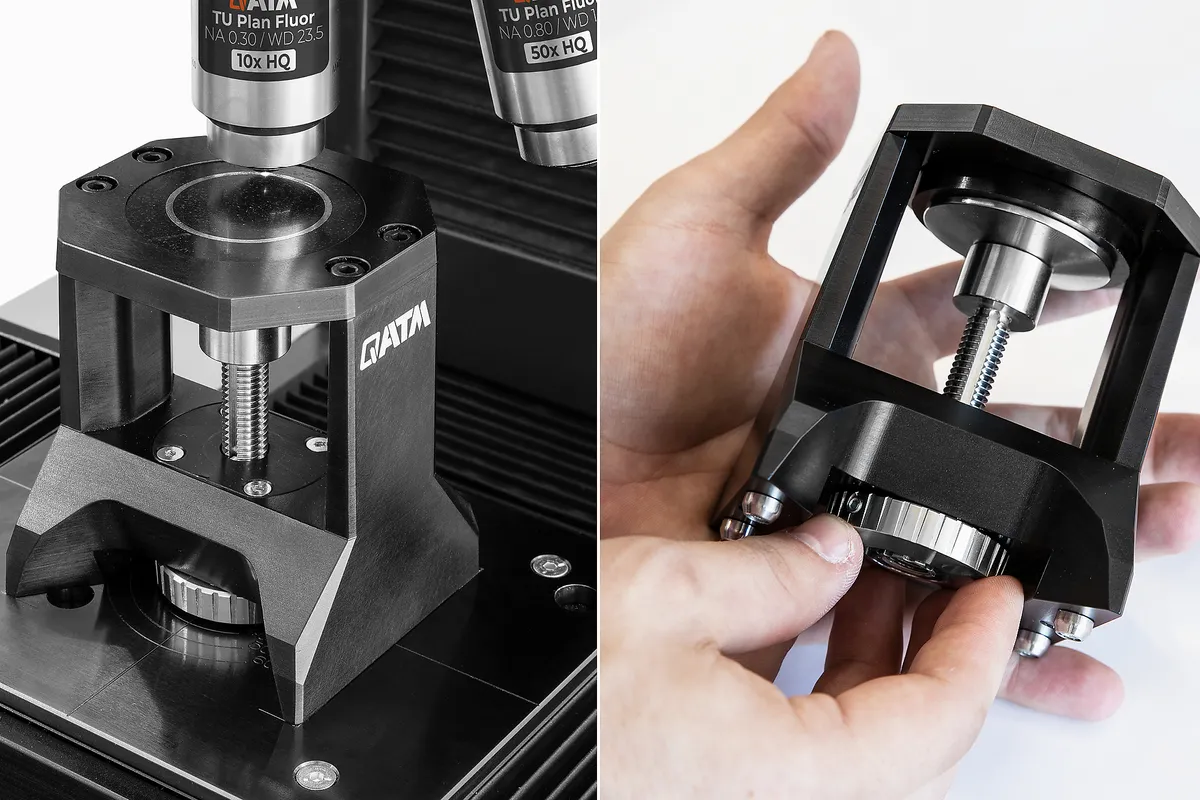
NON-EMBEDDED SAMPLES
Components of almost all geometrical shapes can be fitted into the universal sample holder. Four clamping bolts can be set variably in various T-slots.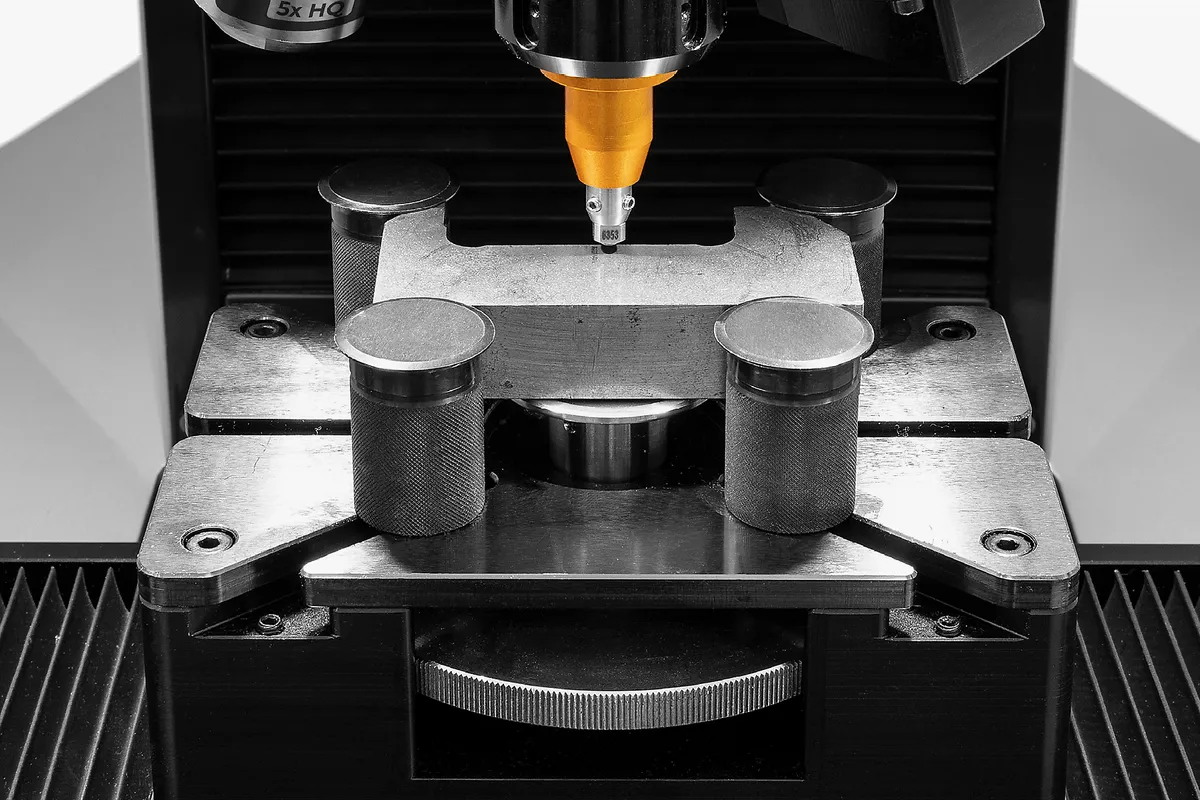
Next-generation software for your hardness tester
The intuitive Qpix Control2 M-Version software is included with each Vickers / Knoop / Brinell / Rockwell hardness tester Qness 10 / 60 M to provide sophisticated functionality tailored to the requirements of semi-automatic hardness testing devices. Clearly organized batch management and the effective use of templates from a broad span of testing projects, test result structuring and a complete range of background project information. The easily generated templates include all the required information on test patterns, test methods, item names and user field details.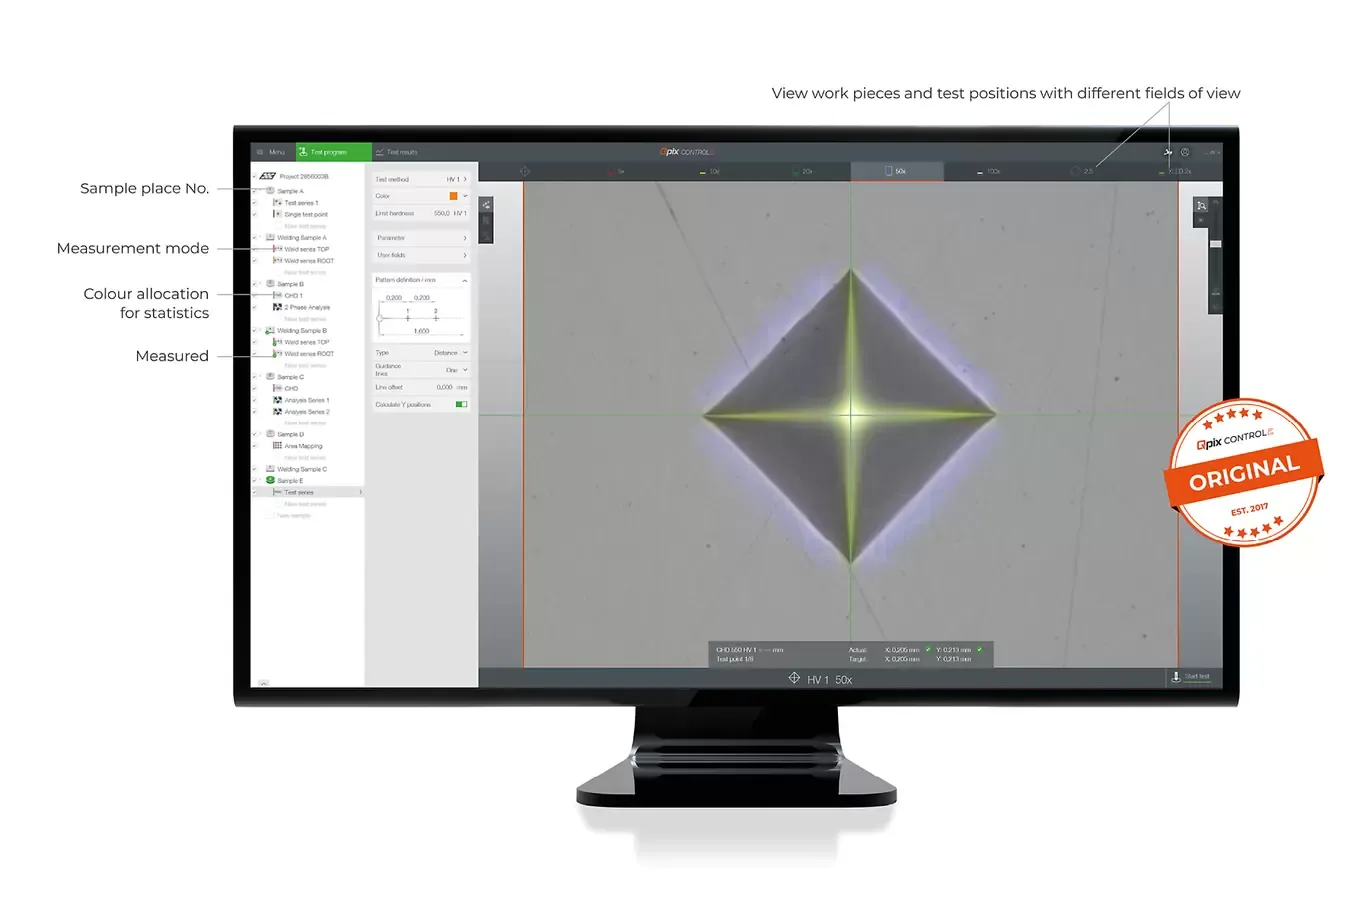
3 Steps to the result
1. Load samples
The machine moves automatically to the height of the sample holder.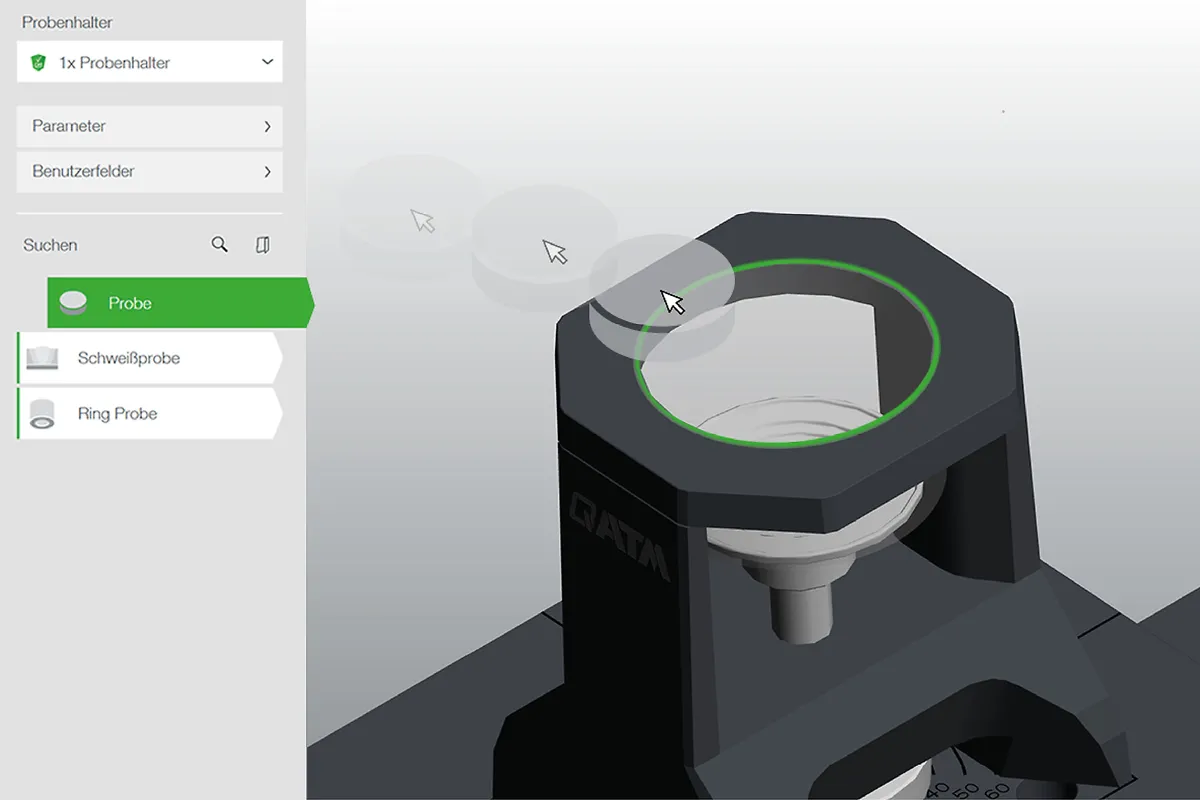
2. Load row
Speedy row set-up: Drag the row of test points.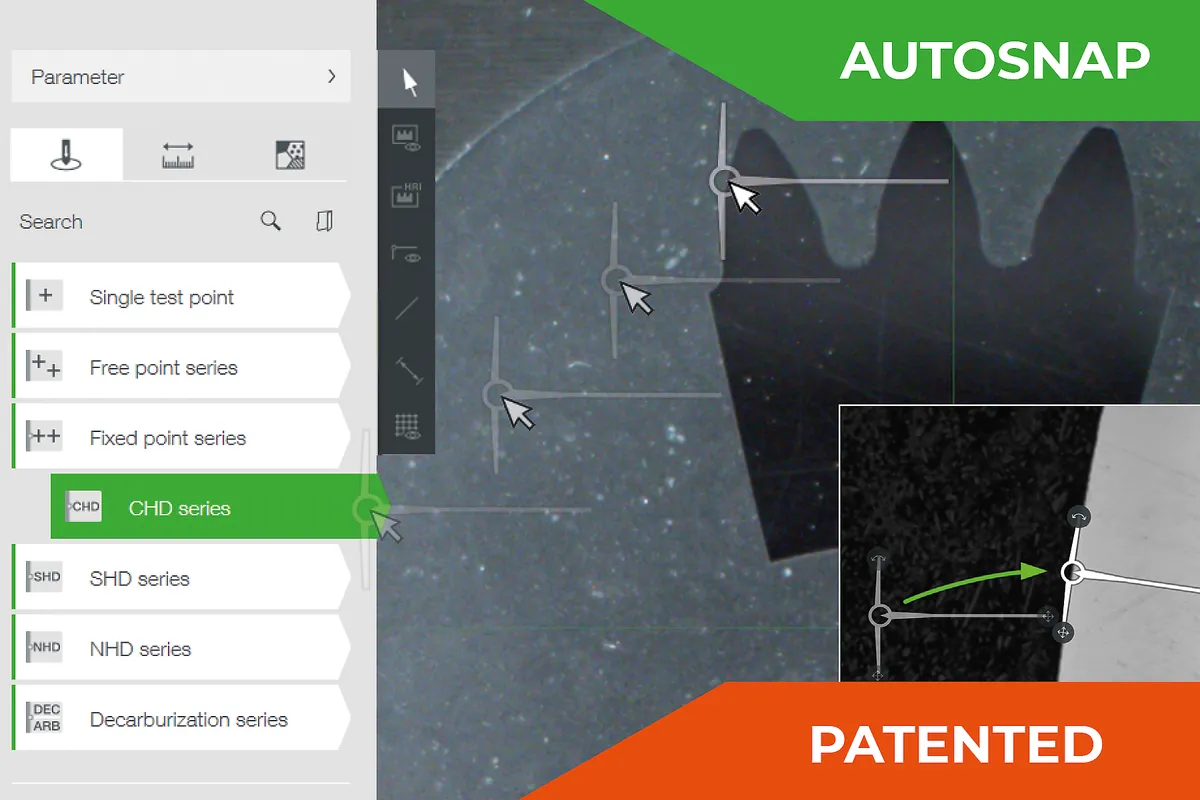
3. Start test sequence
The test sequence is executed according to the applicable hardness testing standards.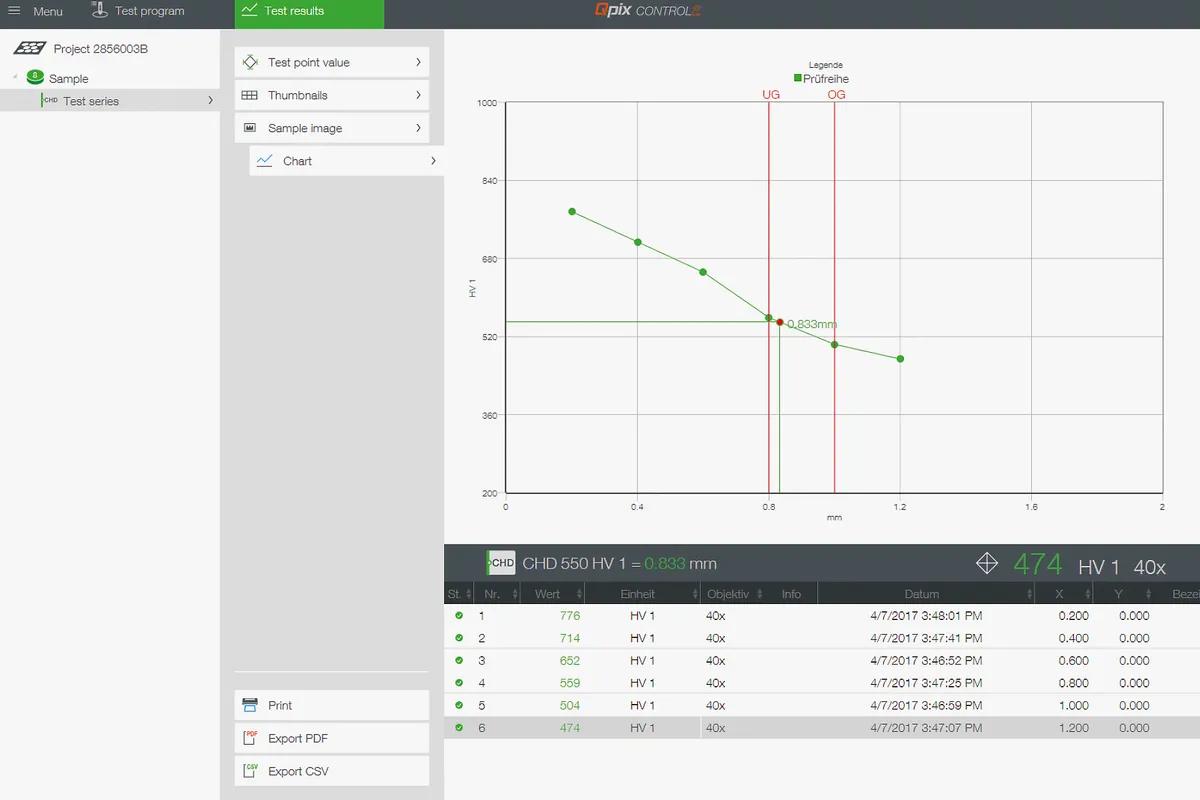
Standard features 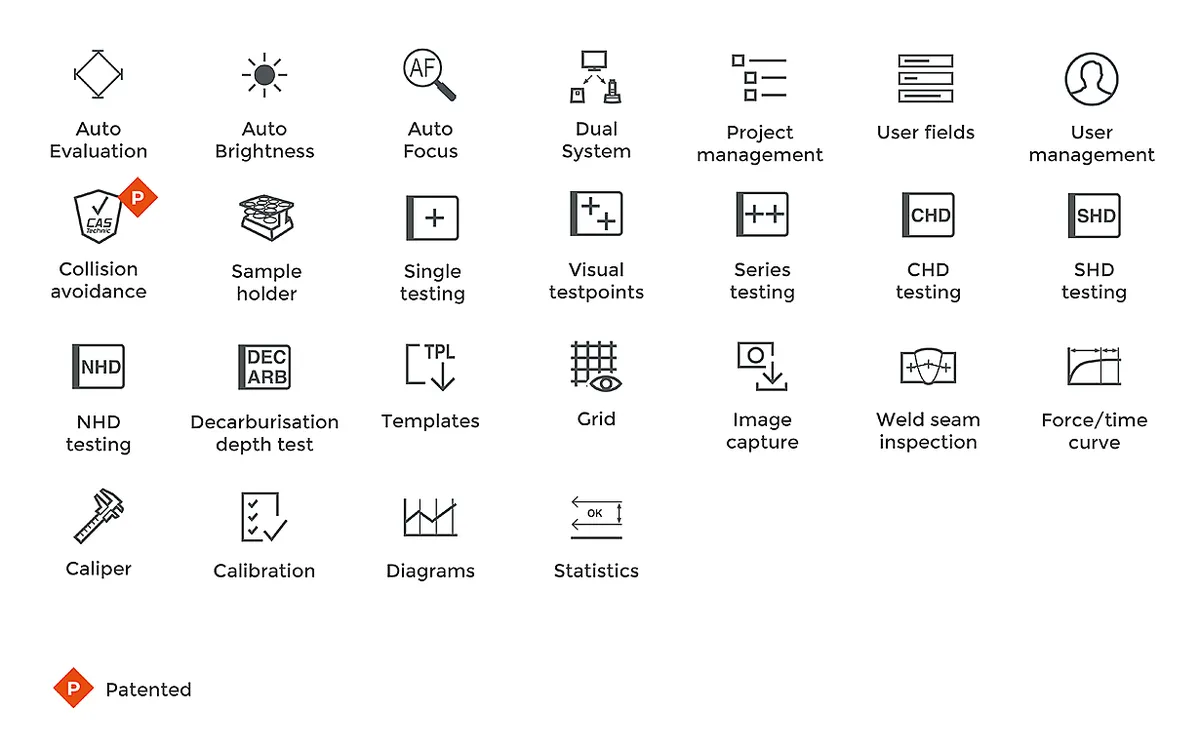
Optional features Microscopy & analysis
2D/3D hardness chart
The optional software module ‘2D/3D hardness chart’ is the perfect aid for the detailed determination of hardness distribution over the total cross section, especially for heat-treated materials. This is extremely important in material exploration, and also for weld testing or in damage analysis. 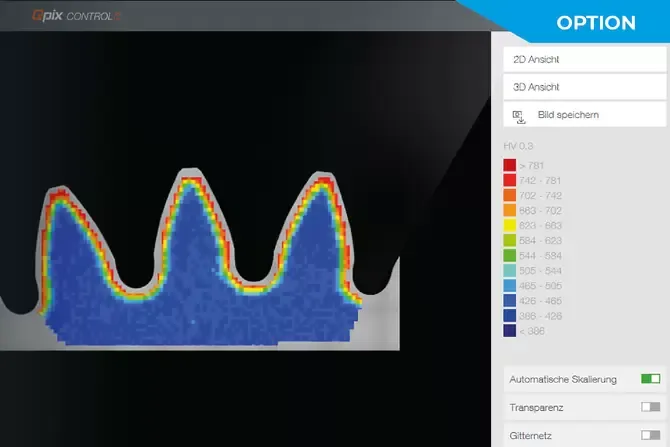
1. Create area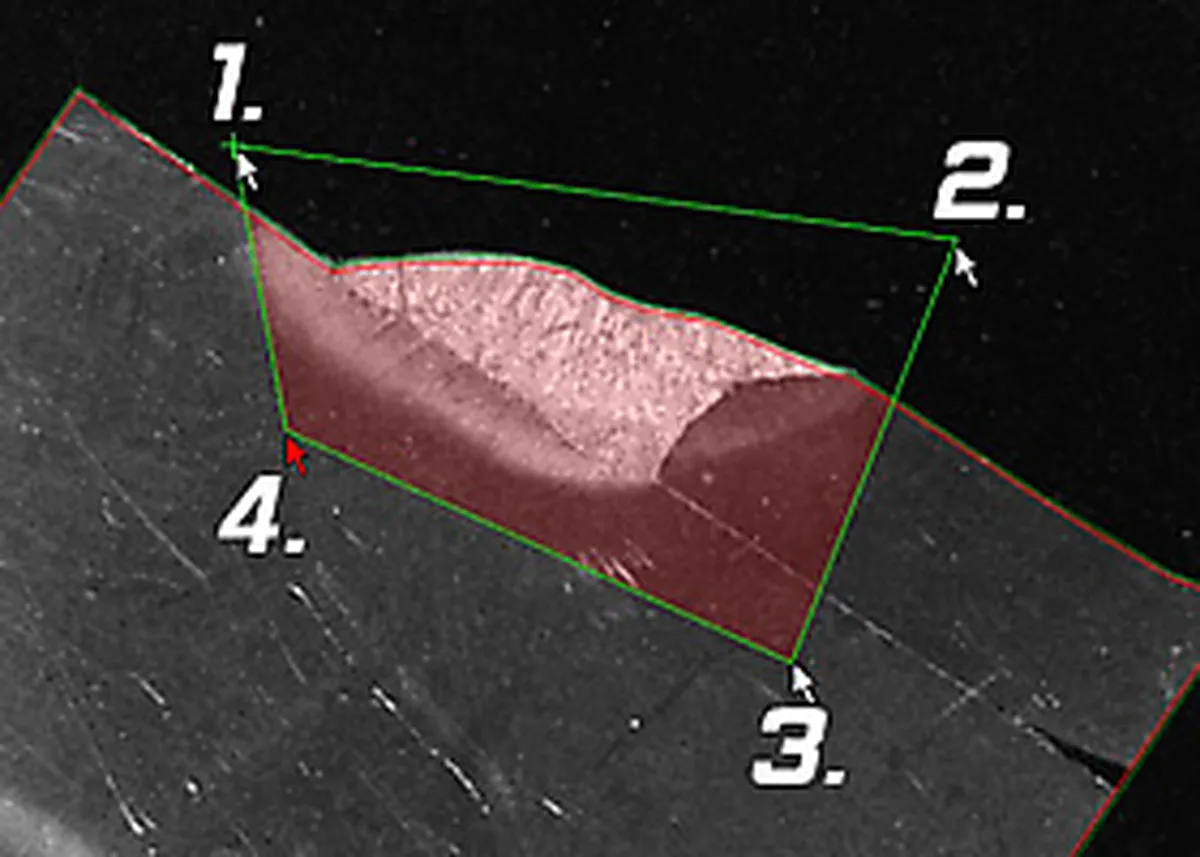
2. Define grid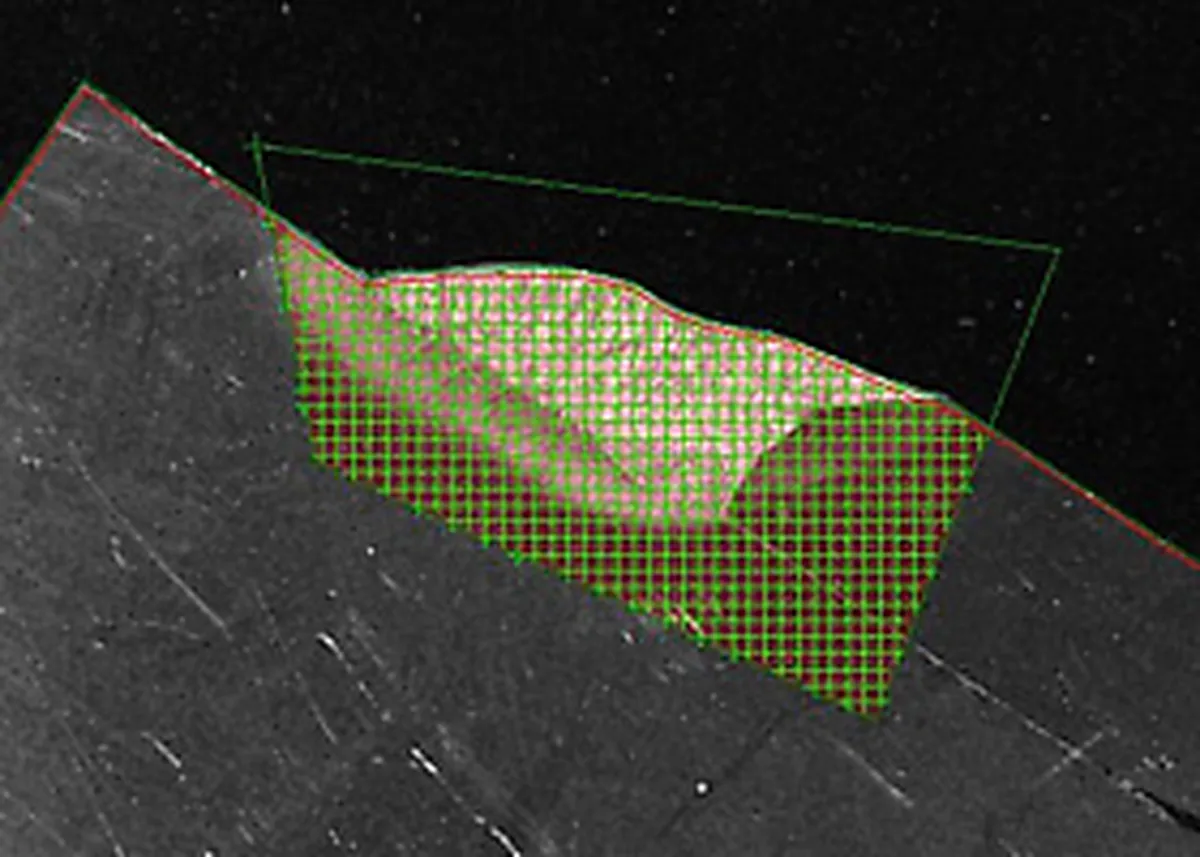
3. Display in 2D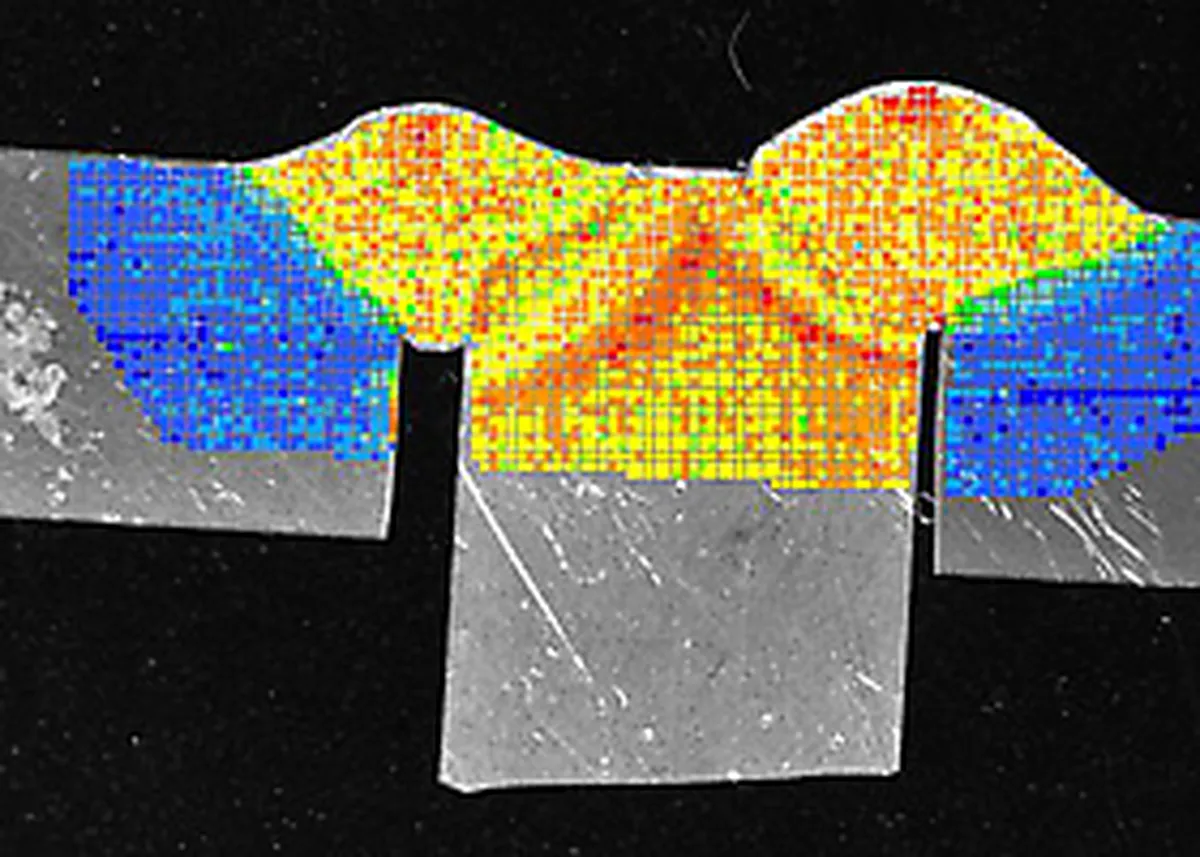
Display in 3D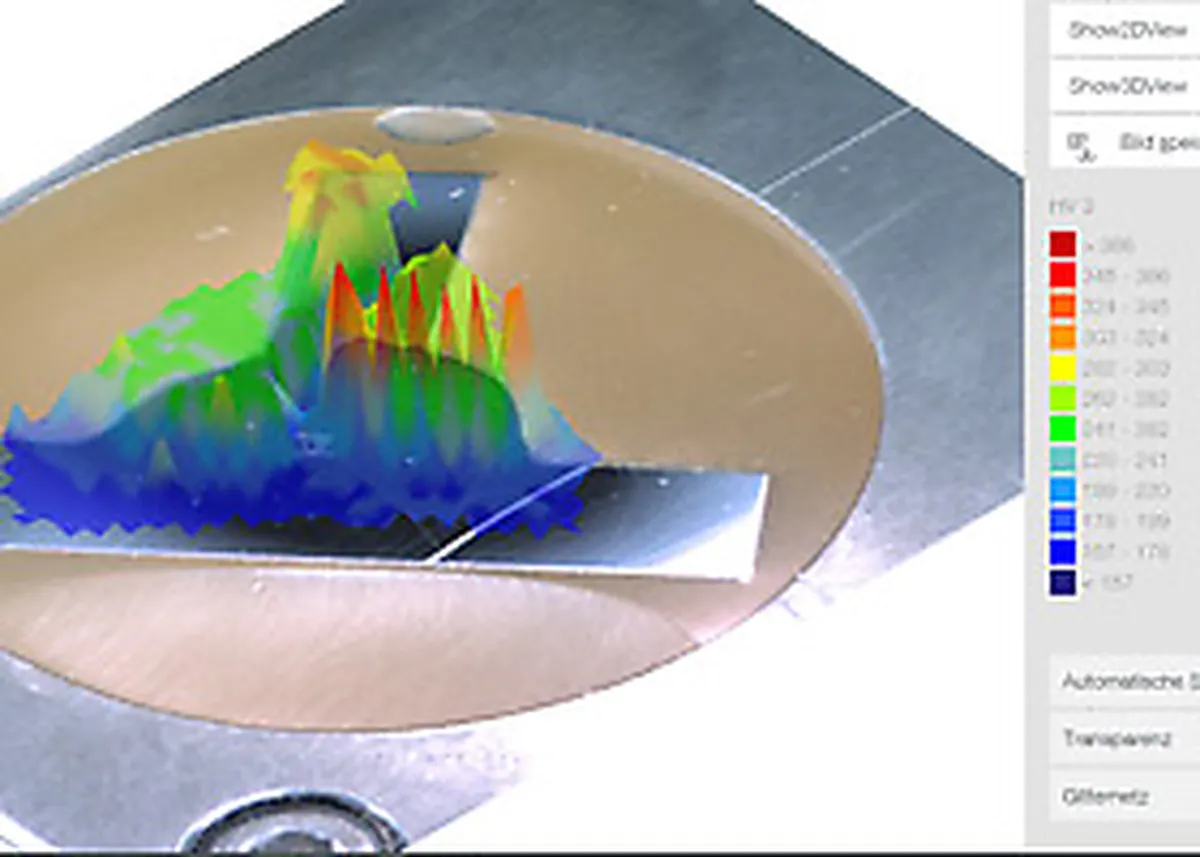
Homogenous hardness distribution chart on wire cross section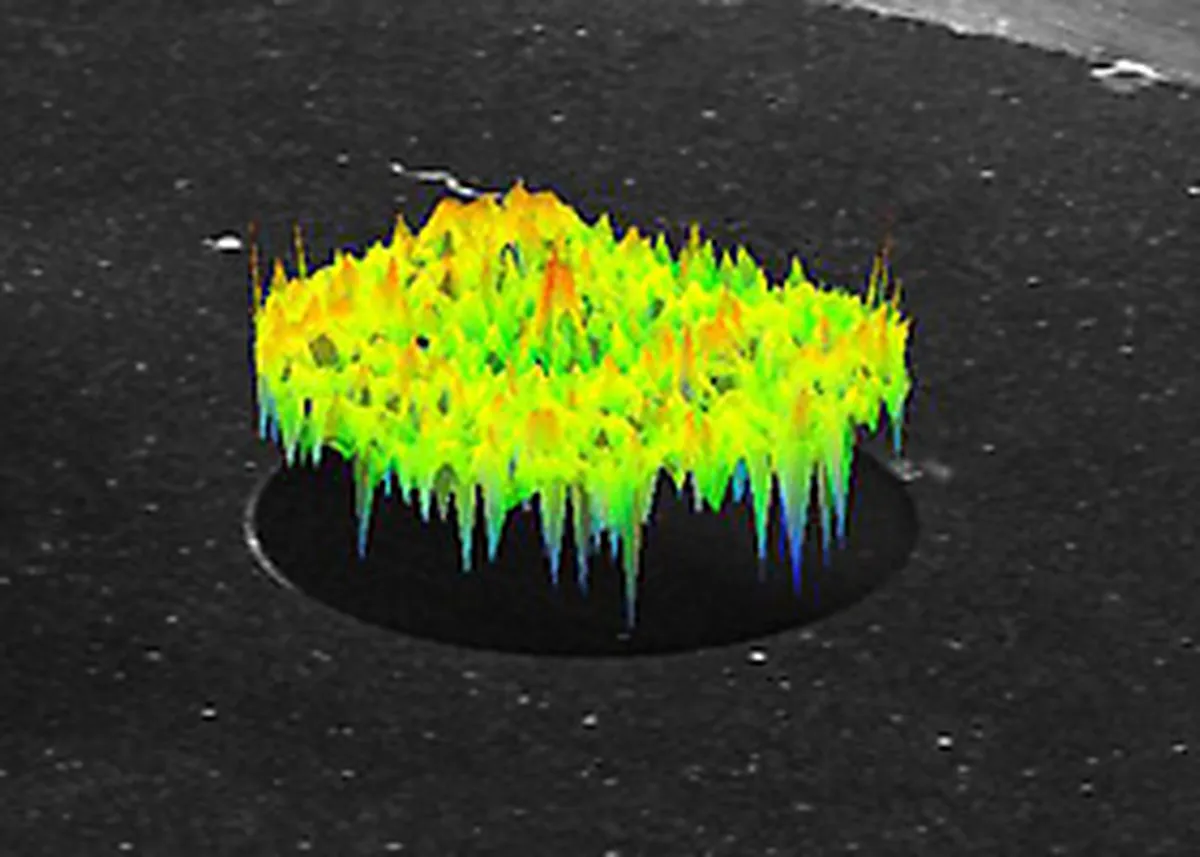
Test point pattern on a non-bedded specimen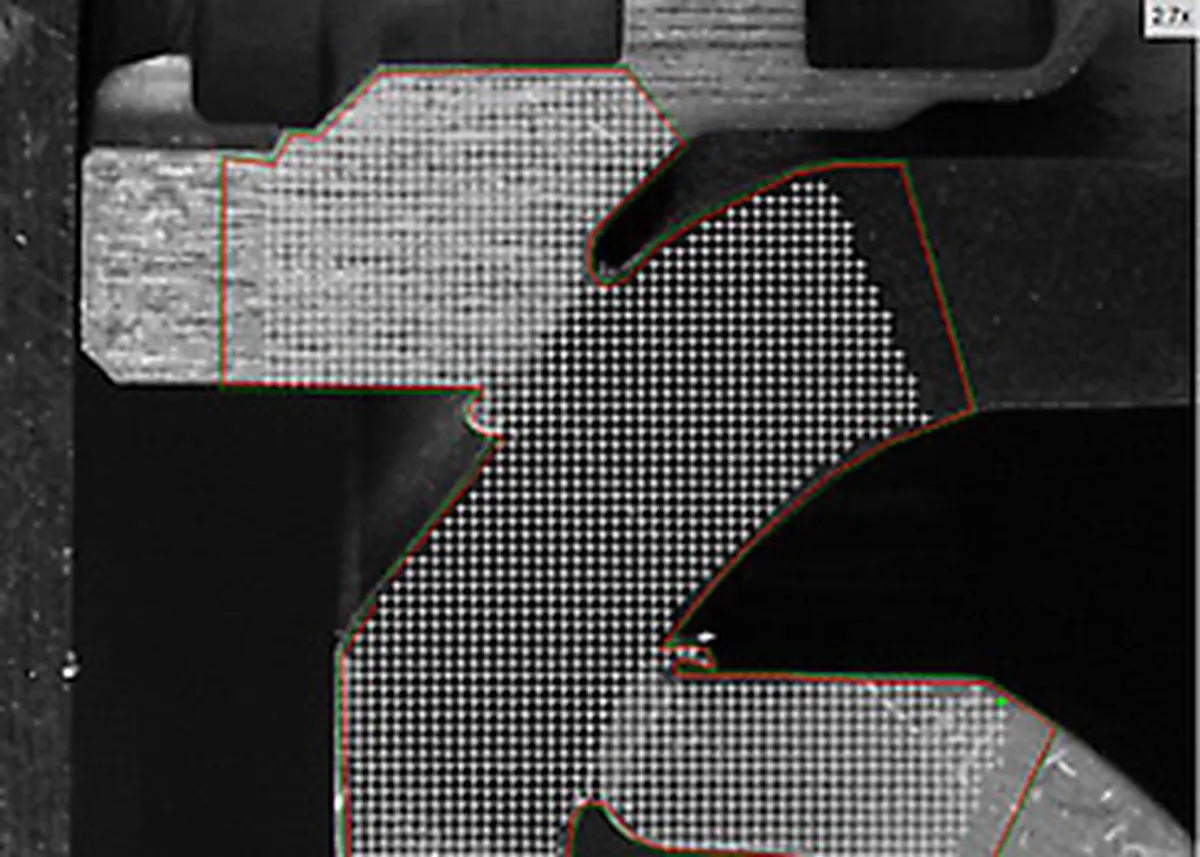
Technical data
| Test force range | Qness 10 A+: 20 gf - 10 kgf (0.196 - 98.07 N)
Qness 60 A+: 0.25 gf - 62.5 kgf (0.00245 - 612.92 N) |
| Test method | Vickers, Knoop, Brinell, Rockwell (option) |
| Test sequence | Fully automated / electronic force application |
| Z-axis | Dynamic, automated (CAS-Technic) |
| Z-axis travelling distance | 150 mm (5.91“); Option: 260 mm (10.2“) |
| Throat depth | 170 mm (6.69") |
| Tool positions | 8-fold motorized tool changer
max. 3 hardness testing modules, max. 7 lenses |
| Camera system | 5 Mpixel - CMOS color, USB3.0 |
| Optical system | Upright microscope with Koehler lighting |
| Aperture diaphragm | fix |
| Lenses | +/- 2 мкм |
| Lens types | Standard (Achromat) and High Quality (Semi-apochromat) for hardness testing and microscopy
XLED for optimised Brinell hardness testing |
| Field of view (acc. to equipment) | 0.074x0.055 mm (100x) to 2.80x2.10 mm (XLED 2) |
| Sample image camera | 5 Mpixel - CMOS color, USB3.0
52 x 39 mm (2.05 x 1.54“) |
| Test anvil / XY cross slide | Automatic cross slide |
| Table size | 150 x 120 mm (5.91 x 4.72“); Option 300 x 120 mm (11.8 x 4.72“) |
| Positioning accuracy | +/- 2 μm |
| Traverse path at cross slide | X 150, Y 150 mm (5.91 x 5.91“); Option: X 300 x Y 150 mm (11.8 x 5.91“) |
| Control elements | Emergency stop, Start button, Joystick X/Y/Z |
| Software | Qpix Control2 "M" |
| Max. workpiece weight | 50 kg |
| Weight of basic device | 60 kg |
| Included basic equipment | Indenter Vickers ASTM + DAkkS; Lens 5x, 20x, 50x |
| Interfaces | 1 x USB 3.0 |
| Power supply | 100 - 240 V ~1/N/PE, 45-65 Hz |

