

Macro hardness tester QNESS 250 / 750 / 3000 CS/C EVO
Артикул: QNESS 250 / 750 / 3000 CS/C EVO
The new Brinell / Knoop / Rockwell / Vickers hardness tester series EVO by QATM combines extremely short cycle times with maximum precision.
The characteristic "C" shaped machine frame gives the CS and C versions of the Qness 250/750/3000 EVO series their name.
The proven concept with fixed test head and up/down moving spindle has been standard in hardness testing for many decades and is ideally suited for small test pieces - as model "C" for component heights up to a maximum of 395 mm and as an even more compact model "CS" with 175 mm maximum test height.
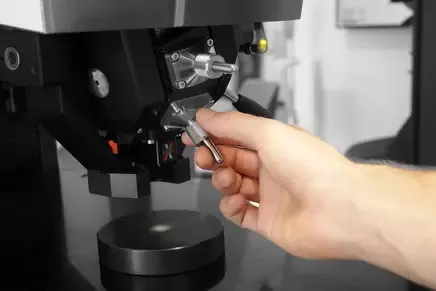
8-POSITION TOOL CHANGER
FASTER TEST METHOD CHANGE-OVER
Brinell, Knoop, Rockwell or Vickers hardness testing? The sophisticated tool-changer concept with a rotational axis angle of 15° provides space for 8 tools in one uniquely compact unit. Downholder elements with a closed shape on three sides guarantee secure workpiece clamping around the test point – even for small test pieces.
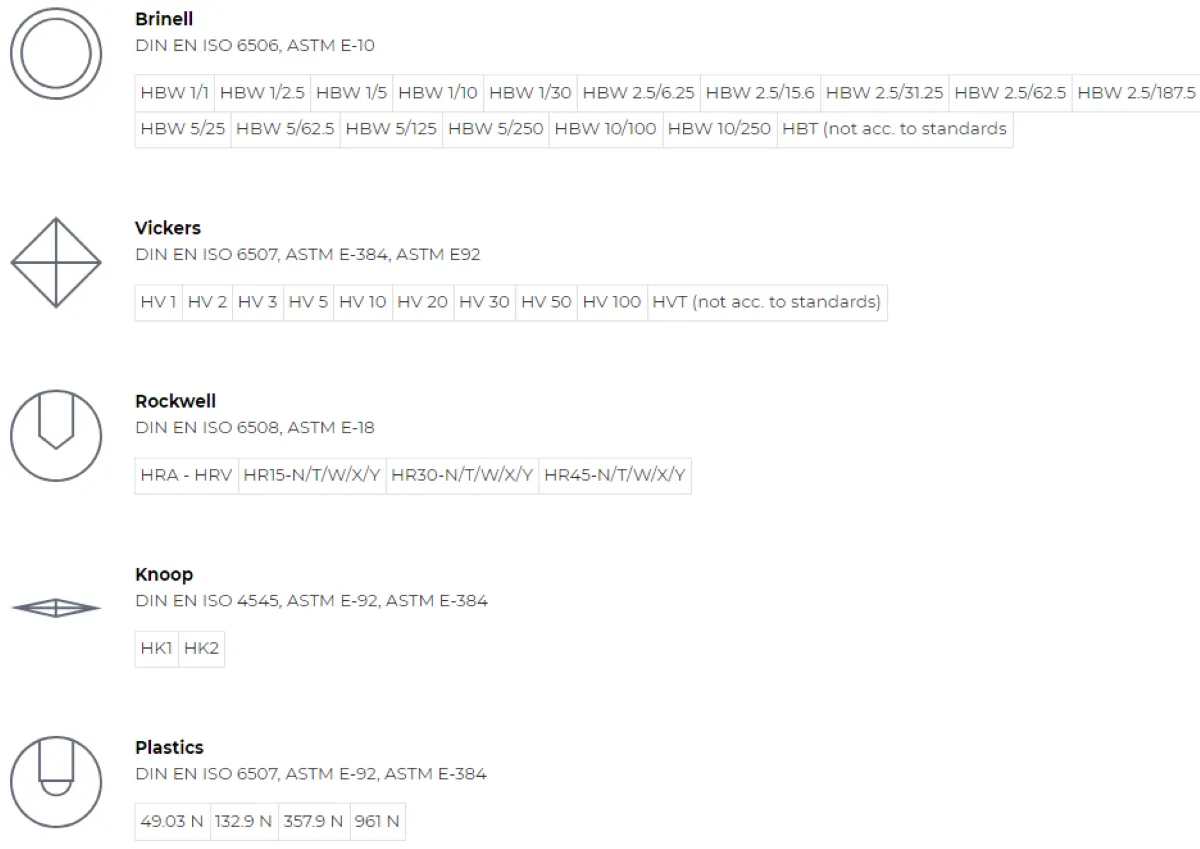
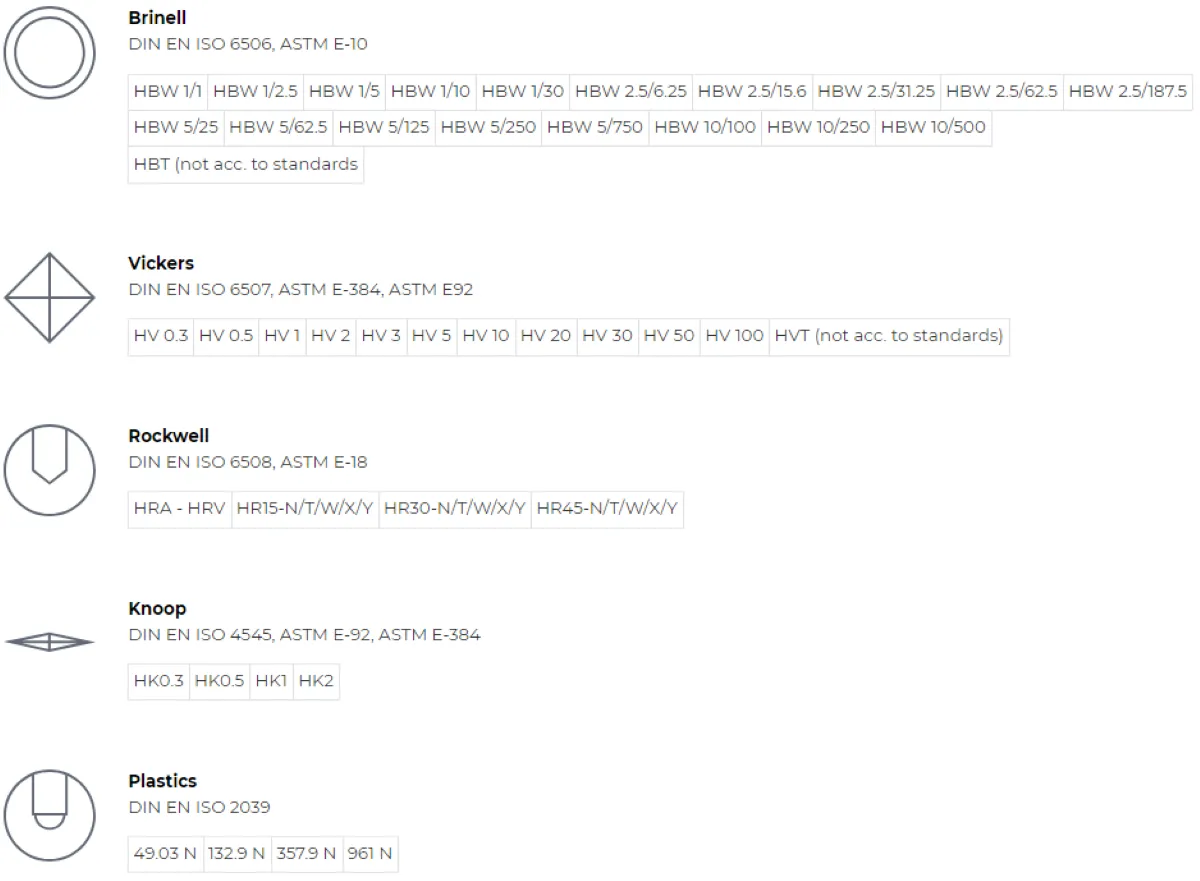
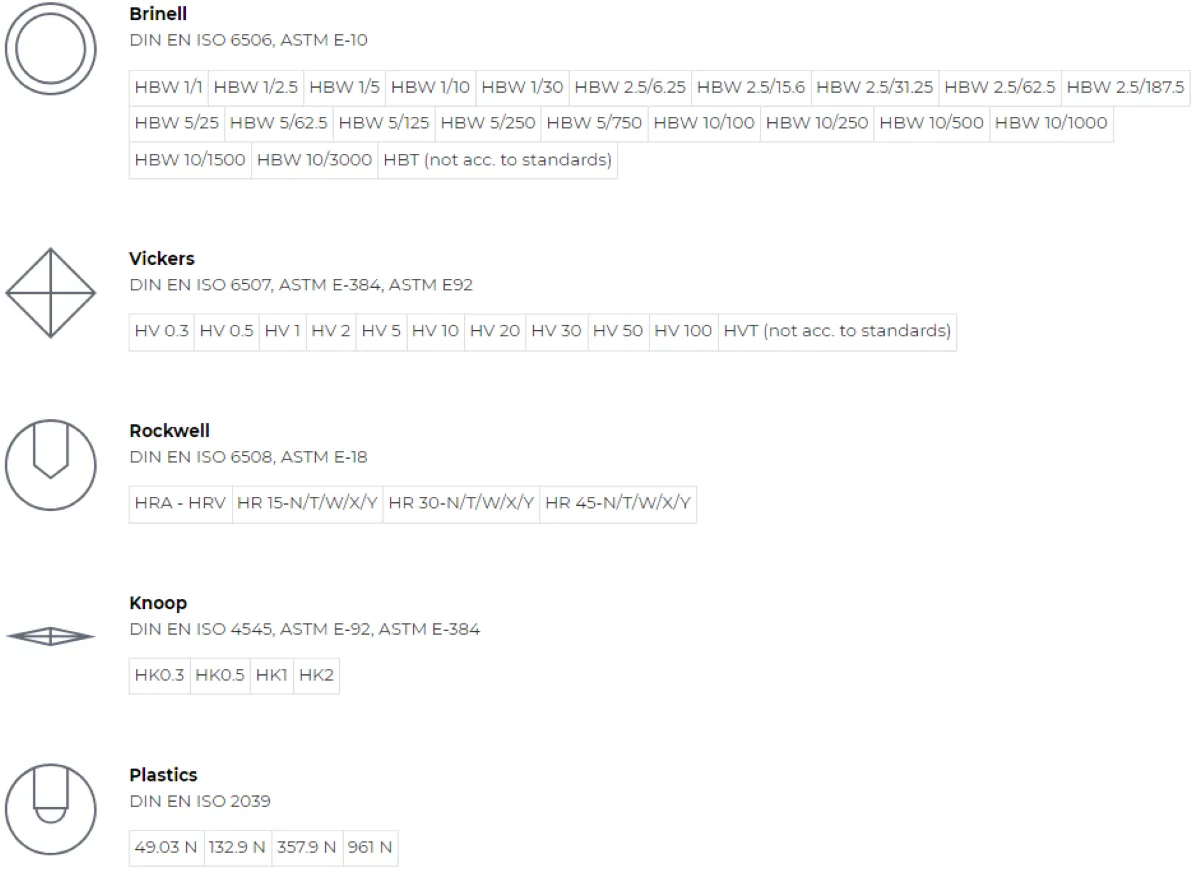
TEST METHODS & FORCE RANGE
Qness 250 C/CS EVO
 Qness 750 C/CS EVO
  Qness 3000 C/CS EVO
UNIQUE INSTRUMENT FEATURES
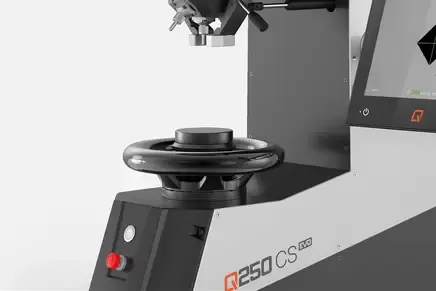
TEST TABLE HEIGHT ADJUSTMENT
via stable, ultra-precise roller-bearing spindle guide. Solid, no-maintenance structure with a sophisticated black chrome-plated handwheel. All Brinell / Knoop / Rockwell / Vickers hardness tester models of the EVO series are available with a Ø25 mm table mount (optional ¾" adapter available).
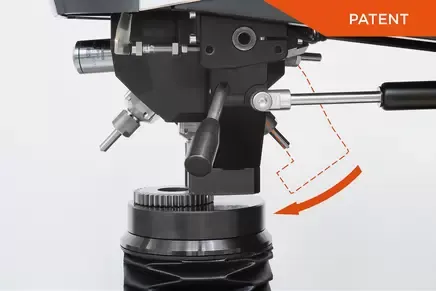
SWIVELING DOWNHOLDER
No long tool changeovers for inaccessible test positions. The downholder can be swivelled in and out via manual or motorized action, as required. Furthermore, the clamping elements can be changed easily and adapted to suit the customer‘s component.
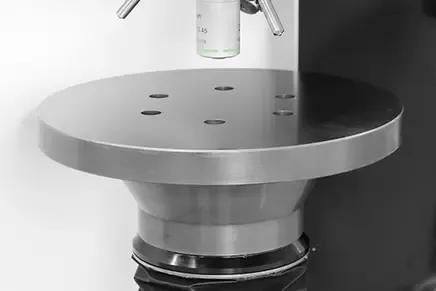
WIDE RANGE OF TEST TABLES AND PRISM ANVILS
The wide range of available test anvils and prisms enable hardness testing to be conducted on unusually large or spherical items, and on test objects with an uneven test surface.
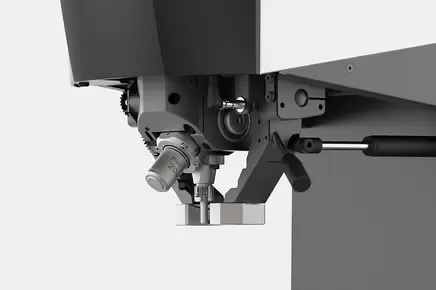
2-POSITION TOOL HOLDER
All 250/750/3000 hardness testers of the EVO series are equipped as standard with clamping for 2 tools – simple and affordable with room for a test head and a lens or XLED – ideal for unchanging testing requirements.
RAPID INDENTER CHANGING SYSTEM
Uniquely simple, tool-free indenter changes due to indenter quick-release mechanism.
HIGHLY ACCURATE RESULTS IN ULTRA-SHORT TIME
EXCELLENT IMAGE QUALITY
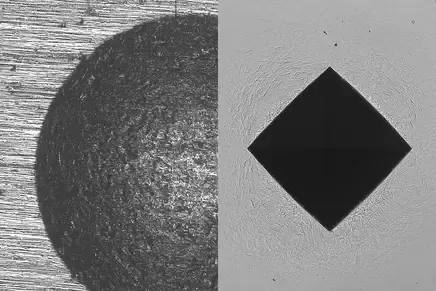
The optics system has been completely redeveloped. It was built on site in the cleanroom at the QATM plant and benefits from the company’s comprehensive expertise. All the new devices share one universal microscope system covering all the necessary visual ranges between 0.1 mm and 8 mm in maximum clarity and contrast. The QATM system guarantees uniform illumination across the entire image, regardless of the degree of magnification, and without dark edges.
REDUCED CYCLE TIMES
The new EVO product line guarantees optimized test parameters, a faster Windows 10 PC, much shorter serial autofocus times, significantly faster regulation of brightness and image evaluation, all of which contributes to far more rapid cycle completion times in everyday hardness testing – with even quieter operating noises.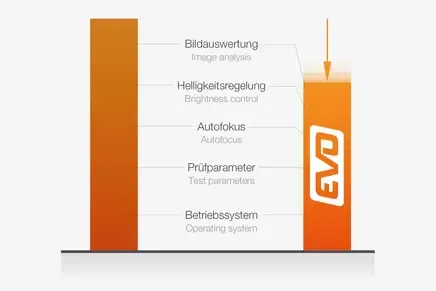

XLED BRINELL EVALUATION LENSES
XLED illumination modules revolutionize the analysis of Brinell indentations. Due to beading on commercially available lenses, soft Brinell indentations in particular can be subject to imprecise gauging results. In contrast, XLED lenses guarantee precise and repeatable measurements, regardless of material type and hardness, due to direct and wide-extension illumination.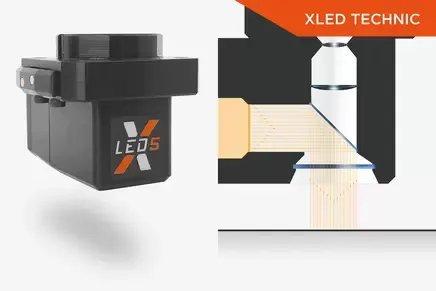

A NEW DIMENSION OF EFFICIENT OPERATION
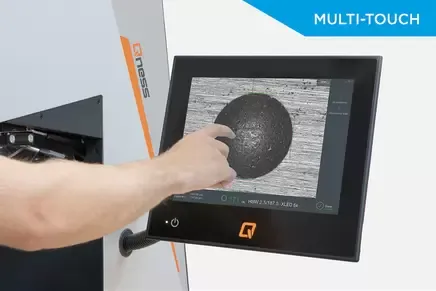
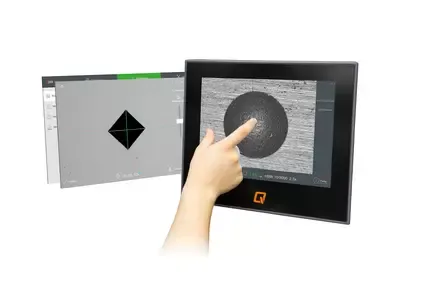
MULTI-TOUCH CAPACITY & FULL SCREEN MODE
- Modern multi-touch operation for simple zooming and easy menu navigation.
- A clear overview of all the most important functions on one screen guarantees user-friendliness and, most importantly, ensures test results are clearly prioritized.
DATA ADMINISTRATION
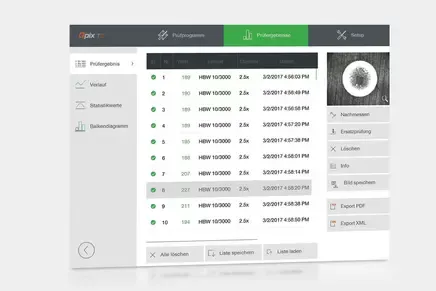
- Numerous statistical functions: Bar graphs, line graphs, histogrammes
- Export test results as XML or CSV file
- Detailed normed information on each indentation
- Test report as Excel, Word, PDF or direct print
- Automatic export and deleting functions for serial operation
SOFTWARE QPIX T2
- Simple operation
- Fully automatic image analysis via ring light in light or dark field process
- Rapid auto-focus
- Manual follow-up measurement possible
